
Last updated October 30, 2026
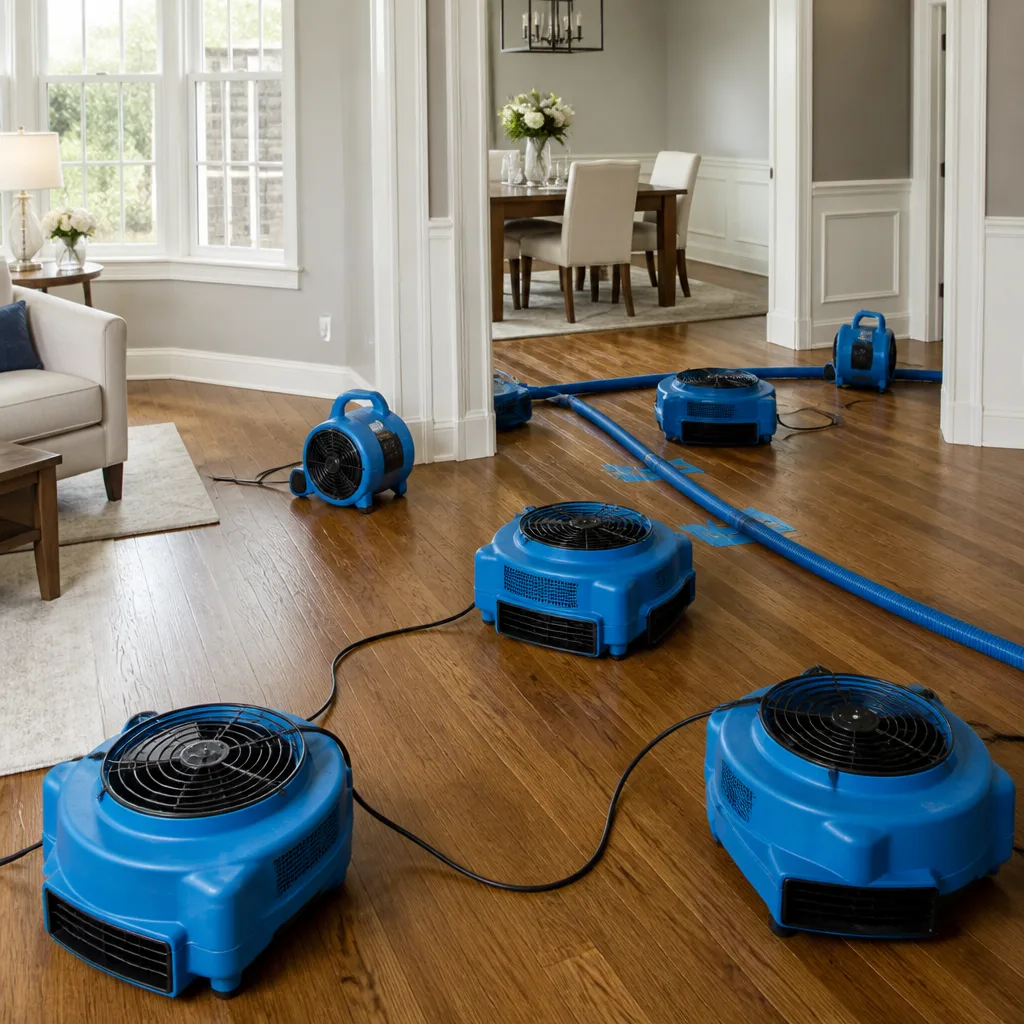 Water damage drying
 Fire & smoke cleanup
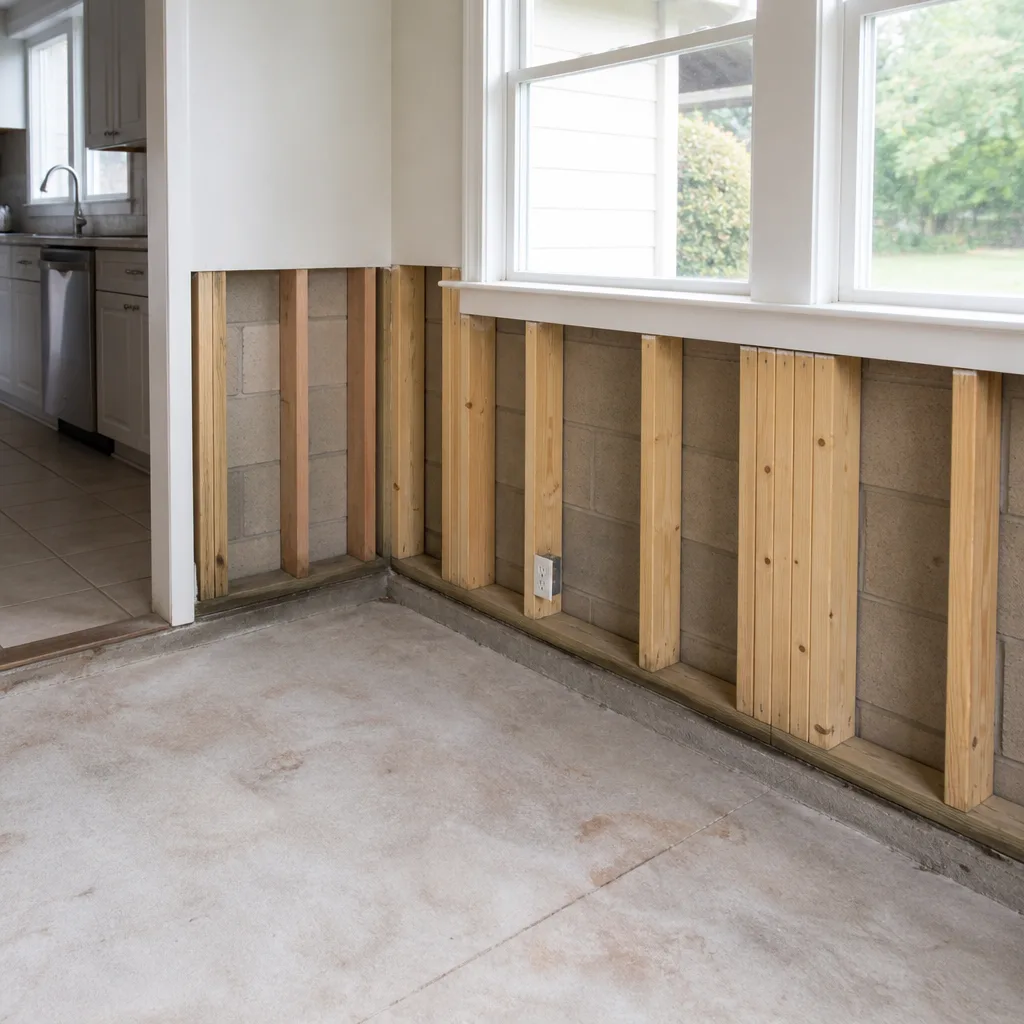 Mold remediation
 Storm response
 Sewage cleanup
 Reconstruction
Free visual inspection and a written scope of work before any mitigation begins - photos, moisture readings, and drying logs go in your claim file
The scope we write is the scope we bill. Anything new gets shown to you, in writing, before we touch it.
Get your free estimateWater Damage Restoration Maintenance Checklist for Rialto Homeowners
Most Rialto homeowners never think about water damage until a supply line bursts at 2 a.m. or a wall starts staining brown behind the couch. Here’s the number that should get your attention: several zones across Rialto’s municipal water system run at static pressure above 80 PSI. That exceeds the threshold where washing machine hoses, ice maker lines, and older angle stops start failing at rates that keep restoration crews busy every single week. This checklist isn’t the generic “clean your gutters” advice you’ll find everywhere else. It’s built from what we actually find inside Rialto homes after the water gets shut off, and it covers the six failure points that show up over and over in houses built across this city’s major boom decades.
Quick Answer
A water damage maintenance checklist for Rialto homeowners should prioritize six things: testing static water pressure at the main shutoff twice a year, replacing washing machine hoses every five years, inspecting water heater pan drains and HVAC condensate lines annually, checking for galvanized pipe corrosion in 1970s-1990s builds, documenting a photographic baseline of walls and ceilings for insurance purposes, and adjusting routine checks around Santa Ana wind season and first winter rains.
Restoration work we handle
Table of Contents
- Test Your Water Pressure Before It Tests You
- Galvanized Pipe Failure Points in Rialto Tracts
- The Three Most Ignored Areas in Rialto Homes
- Build a Photographic Baseline for Your Adjuster
- Seasonal Adjustments for Santa Ana Winds and First Rains
- Appliance Supply Lines and Angle Stops: The Silent Failures
- Slab Foundation Homes and Under-Slab Leak Indicators
- What You Can Check Yourself vs. What Needs Professional Eyes
Test Your Water Pressure Before It Tests You
Any hardware store in Rialto sells a simple pressure gauge for about $15. It threads onto a hose bib or laundry faucet and gives you a static reading in about ten seconds. Most Rialto homeowners have never done this once. That’s a problem because static pressure above 80 PSI places sustained stress on every rubber washer, plastic connector, and braided supply line in the house. Manufacturers design most residential plumbing components for 40-70 PSI operation. Run consistently higher, and failures become a question of when, not if.
Here’s the step-by-step protocol we recommend to every homeowner in Rialto:
- Buy a liquid-filled or dial pressure gauge with a female hose thread. Analog is fine; digital isn’t necessary.
- Attach it to the hose bib nearest your water main, or to the cold water outlet on your washing machine if no exterior bib is accessible.
- Make sure no water is running anywhere in the house. This is a static reading.
- Open the valve fully and read the gauge. Note the number.
- Record the date and reading. Repeat every six months, and again after any major municipal line work on your street.
What does the number mean? Between 40 and 70 PSI is the safe operating zone. Between 70 and 80, you should start replacing supply lines preemptively and consider a pressure-reducing valve if you don’t have one. Above 80, you have a documented failure risk. Washing machine hoses are the first casualty in high-pressure homes because they see pressure spikes every time the fill valve shuts abruptly, a phenomenon called water hammer. If you read above 80 PSI at the hose bib, the odds that a rubber washer washing machine hose is overstressed go from “eventual” to “imminent.” We’ve pulled burst rubber hoses out of Rialto laundry rooms that looked fine from the outside, and the failure always starts at the crimp connection, where rubber meets brass fitting.
One more thing about pressure testing: document it. Write the PSI number and date on the wall near your water heater with a Sharpie, or keep a note in your phone. If a supply line ever does fail and you file an insurance claim, that documentation shows proactive maintenance, which strengthens your position when the adjuster asks what you did to prevent the loss. For more on how restoration works after a supply line failure, see our Water Damage Restoration in Rialto page.
Galvanized Pipe Failure Points in Rialto Tracts
Rialto’s housing stock exploded between the 1970s and 1990s. Many of those tracts were plumbed with galvanized steel pipe. Galvanized pipe has a service life of roughly 40-60 years, which means much of the galvanized plumbing in Rialto is either failing now or will fail within the next decade. The failure pattern is predictable enough that any experienced restoration crew can point to the same spots in every house.
Galvanized pipe doesn’t fail uniformly. It corrodes from the inside out, narrowing the internal diameter until a section develops pinhole leaks or splits under pressure. The most common origination points in Rialto tract homes are:
- Horizontal runs in exterior walls: These pipes experience the widest temperature swings between day and night, especially during Santa Ana wind events when Rialto’s nighttime temps can drop sharply.
- Behind bathroom vanities: The section of galvanized pipe that runs vertically from the floor to the angle stop at the sink is almost always thinner than the rest of the run because it got cut and threaded on site.
- Corner joints at the top plate: Where a galvanized line transitions from the wall cavity into the attic, the threaded connection is a corrosion focus point.
- Any transition point to copper: If a previous owner repaired a section of galvanized with copper, and the plumber didn’t install a dielectric union, galvanic corrosion accelerates at that joint. This is extremely common in Rialto homes that had partial repipes in the 2000s.
What should a homeowner do? Walk the house and identify visible galvanized pipe. It’s dull gray, often with surface rust at the threads. Check the water heater supply lines, under bathroom sinks, and any exposed lines in the garage. If you see flaking rust, mineral deposits at joints, or any moisture, that’s a call to a licensed plumber. But also know this: the pipe that leaks is often not the pipe you can see. Water travels down the interior wall cavity until it finds a floor penetration. By the time you see the stain on the ceiling below, the leak has been active for days or weeks. This is where mold remediation becomes part of the water damage conversation. Our Mold Remediation in Rialto page explains what happens when hidden leaks get caught late.
The Three Most Ignored Areas in Rialto Homes
Restoration crews walk into the same three neglected areas in Rialto homes month after month. These are not exotic failures. They’re boring, unglamorous, and almost completely invisible until they cause real damage. The pattern is so consistent that we’ve built our inspection protocols around them.
Water heater pan drains
Every water heater should sit in a drain pan with a line running to the exterior or a nearby floor drain. In Rialto homes, these pan drains are frequently clogged, disconnected, or missing entirely. The water heater sits in the garage on a raised platform in many tracts, and the pan drain is a vinyl tube that runs through an exterior wall. Wasps build nests in the exterior end. Dust and garage debris collect in the pan. The homeowner never looks at it because it’s behind the water heater, and the water heater is behind everything else in the garage.
Here’s the annual protocol: pull everything away from the water heater. Check that a pan exists. Check that a drain line is attached. Pour a cup of water into the pan and confirm it drains. If it doesn’t, clear the line. This takes five minutes. When a water heater springs a leak without a functional pan drain, the water pools in the garage and runs toward the interior door threshold, seeping under baseboards and into wall cavities. By the time you see it, the water has been traveling for hours. A five-minute annual check prevents this entire sequence. If you’ve already had this happen, Water Damage Restoration in Rialto covers what extraction and drying actually involves.
HVAC condensate lines
Rialto’s summers push air conditioners hard from June through October. Your AC removes gallons of water from the indoor air every day, and that water drains through a PVC condensate line. That line clogs with algae, dust, and biofilm. In attic-mounted air handlers, a clogged condensate line overflows the drain pan and pours water through the ceiling below. In closet-mounted units, the water runs down into the wall cavity.
The annual check: find where your condensate line terminates, usually at a PVC pipe sticking out of the exterior wall near the condenser. Pour a half cup of white vinegar into the access port near the air handler twice a year, once before cooling season and once after. If water doesn’t flow freely from the exterior end, the line is partially clogged. A $15 shop vac on blow setting at the exterior end often clears it. If the line is fully blocked and the pan is overflowing, that’s an immediate call, not a DIY project. What looks like a roof leak in an upstairs bedroom in Rialto is often the condensate line from a attic air handler, and getting that wrong leads to roofing quotes you don’t need.
Under-slab access points
Many Rialto homes built in the 1970s through early 1990s sit on slab foundations. Copper supply lines were sometimes run under the slab, and those lines are now reaching ages where pinhole leaks are common. You can’t visually inspect pipe buried under concrete, but you can watch for signals: warm spots on the floor, the sound of running water when no fixtures are on, unexplained increases in your water bill, or dampness at the base of an interior wall with no plumbing nearby. These are slab leak indicators, and they require professional leak detection. If you catch a slab leak early, the repair is a single point repair. If you miss it for months, the water saturates the soil under the house and wicks up into flooring, baseboards, and drywall. That’s when restoration costs multiply.
Build a Photographic Baseline for Your Adjuster
The single most valuable thing a homeowner in Rialto can do before any water event is to photograph every interior surface in their home. Not just the nice rooms. Every room, every wall, every ceiling, every cabinet interior, every floor. This is not about home value or insurance replacement. It’s about establishing pre-loss condition so that when you file a claim, you can prove what the house looked like before the water event.
Insurance adjusters are professionals who see dozens of claims a month. They’re not adversarial by default, but they have a job to do: verify that claimed damage is consistent with the described loss. If you can show a photo of your kitchen ceiling dated two months before the water heater leaked, completely dry with no water stains, that’s not just helpful. It’s dispositive. It ends the question of whether that stain predated the loss.
Here’s the protocol:
- Use your phone. Modern phone cameras are more than sufficient for insurance documentation.
- Photograph every room from at least two angles. Wide shots showing the entire wall, then close shots of corners where pipes run and ceilings where leaks would show.
- Open cabinet doors under every sink and photograph the interior, including the base and back wall.
- Photograph the water heater area, garage walls, and any exposed plumbing.
- Photograph the exterior of all walls, paying attention to hose bibs and penetrations where lines enter the house.
- Store these photos in a cloud folder with the date in the folder name. Update yearly.
This takes about 45 minutes once a year. When a water loss happens, you show the adjuster the dated folder and watch the claim process smooth out dramatically. In our experience, insurance-level documentation changes the entire tone of a claim. Homeowners who can prove pre-loss condition get faster approvals and fewer disputes. Restoration professionals know this; most homeowners learn it the hard way. This documentation standard is what we bring to every project, and it’s one reason we’re able to coordinate directly with adjusters on behalf of clients. The Fire Damage Restoration in Rialto process uses the same principle: document everything, prove condition, remove ambiguity.
Seasonal Adjustments for Santa Ana Winds and First Rains
Rialto has two seasonal pressure points for water damage, and they arrive at opposite ends of the calendar. One is predictable weather. The other is a municipal system reacting to that weather. Most homeowners don’t connect either one to their plumbing, but restoration crews see the patterns in their call volume every year.
Santa Ana wind season runs from October through January. These events bring dry, gusty winds that lower humidity to single digits and, more critically for plumbing, cause wide temperature swings. That dry air pulls moisture from exposed wood and can cause minor movement in framing, but the bigger issue is on the supply side. Rialto’s above-average static water pressure becomes more dangerous during Santa Ana conditions because the combination of pressure and dry, brittle rubber makes washer-based connections more prone to failure. Braided stainless hoses are your defense here. If your washing machine hoses are rubber, replace them with braided stainless before October. Braided stainless lasts longer, handles higher pressure, and fails far less often than rubber at the crimp.
The first winter rains bring a different pattern. When the first substantial rain hits Rialto after months of dry conditions, the ground shifts slightly as it absorbs moisture. This shifts buried plumbing and can stress connections at the meter and where mains enter the house. More importantly, first rain reveals every existing roof penetration leak, every failed window seal, and every clogged gutter drainage issue that’s been dormant through the dry months. The restoration call spike isn’t from the rain itself; it’s from damage that accumulated during the dry season and got exposed by water travel paths.
What to do before each season:
- Before October (Santa Ana prep): Replace rubber washing machine hoses with braided stainless. Test static pressure. Check angle stops at every fixture for stiffness or weeping.
- Before first rains (November-December): Clear gutters and downspouts. Check window and door seals. Walk the roof perimeter looking for lifted shingles or damaged flashing. Confirm exterior drains are clear.
- After first rains: Check attic space for damp insulation. Look for water staining on ceilings below roof penetrations. Test pressure again, after ground shift settles.
Appliance Supply Lines and Angle Stops: The Silent Failures
Every appliance in your Rialto home connected to a water supply has two potential failure points: the supply line itself and the angle stop valve that controls it. Both are cheap to replace. Both cause expensive damage when they fail. The pattern restoration crews see most often is not a dramatic burst; it’s a slow leak at a connection point that runs for weeks or months before anyone notices.
Angle stops are the small shutoff valves behind toilets, under sinks, and at the wall behind washing machines. They have a service life, and many of the angle stops in Rialto homes built 20-40 years ago are original. When they fail, they typically weep at the stem seal, dripping water along the floor or into the wall cavity. The homeowner doesn’t notice because the drip is behind a toilet or inside a vanity. By the time there’s visible damage, the leak has been active for weeks.
Here’s what to do, starting today:
- Find every angle stop in your house. Toilets (2 each), bathroom sinks (2 each), kitchen sink (2), washing machine (2), ice maker line (1), and possibly a utility sink or garage sink.
- Operate each valve. Turn it fully off, then fully on. Do this once a year. This prevents the valve stem from seizing, which is what causes the failure when you try to shut it off during an emergency.
- Look for white mineral deposits at the stem or around the connection. Mineral deposits = a slow leak that has dried. The leak will return.
- Check supply line connections at both ends for moisture, corrosion, or green oxidation on brass.
- If any valve is stiff, weeps, or won’t shut off completely, replace it. This is a $10 part and 15 minutes of work for a plumber, or a DIY job if you’re comfortable with it. If you’re not, hire a licensed plumber. It’s cheaper than a restoration crew responding at midnight.
Washing machine hoses deserve a special callout. The best practice in high-pressure zones like Rialto is to replace washing machine hoses every five years regardless of visible condition. Use braided stainless, which has a burst pressure far exceeding municipal supply pressure. Turn off the supply valves at the wall when you leave for more than a week. If a washing machine hose bursts while you’re away, the water flows at 5-10 gallons per minute, and no one is there to shut it off. That’s how minor hose failures become full-home water losses.
Slab Foundation Homes and Under-Slab Leak Indicators
A substantial portion of Rialto’s housing stock sits on concrete slab foundations. Slab construction has advantages, but it creates a specific water damage profile that homeowners in crawlspace or basement homes don’t deal with. When a supply line under the slab leaks, there’s no visible water. No wet spot in the yard. No puddle in a crawlspace. The water goes into the soil beneath the house, and the first evidence is usually subtle.
Under-slab copper pipe in Rialto experiences failure from two primary causes: internal pitting from water chemistry and electrolysis from electrical grounding or dissimilar metal contact. The city’s water chemistry varies by zone, and some areas see accelerated pitting in copper installed in the 1970s and 1980s. The failure pattern is typically pinhole leaks at the bottom of horizontal runs, where the pipe rests on the soil or gravel.
Here are the early indicators no homeowner should ignore:
- A warm spot on the floor: If you walk across a tile or concrete floor and feel a hot spot with no HVAC vent nearby, you may have a leaking hot water line under the slab.
- The sound of water running when nothing is on: Turn off all fixtures and appliances, then stand near the main shutoff and listen. If you hear water moving and your meter is spinning, there’s a leak somewhere. If you can’t find it inside, it’s under the slab.
- Water bill increases with no lifestyle change: A leak in a supply line under the slab can run continuously without ever surfacing, adding thousands of gallons to your monthly usage.
- Dampness or staining at the base of an interior wall: This can mean water is wicking up from below, traveling along the slab surface.
- Cracks in flooring that appear suddenly: Persistent soil saturation expands and contracts, which can shift slab sections slightly.
If you identify any of these indicators, you need professional leak detection before the damage spreads. Under-slab leaks are not a DIY problem. The find and fix involves specialized acoustic detection or thermal imaging, and the restoration requires extraction and drying protocols designed for slab construction. This is exactly the type of situation where professional assessment matters. Our Water Damage Restoration in Rialto page details how we approach slab leak restoration, including the drying strategies for slab-on-grade construction.
What You Can Check Yourself vs. What Needs Professional Eyes
Most homeowners can and should handle the annual maintenance checklist items in this guide. Testing pressure is a five-minute task. Checking pan drains and condensate lines is straightforward. Documenting your home with photos is phone work. These are all within reach for anyone who can operate a garden hose and a smartphone.
But there’s a line, and knowing where it is prevents you from turning a small problem into a big one. Any indication of active water intrusion inside a wall cavity, under a slab, or in an attic with electrical components is a professional situation. Cutting into drywall to see what’s wet is not a DIY inspection. Moving a water heater to check a pan drain, when the water heater is old and the gas line is rigid, is not worth the risk. And any water event that involves more water than a couple of towels can absorb should trigger a professional assessment, because water moves fast through wall cavities and under flooring, and what looks dry on the surface is frequently saturated underneath.
The single best investment a Rialto homeowner can make in water damage prevention is an hour of professional assessment once every few years. A credentialed restoration professional will spot the early warning signs that a homeowner misses, not because the homeowner is careless, but because restoration professionals have seen the failure patterns hundreds of times. We bring IICRC-certified inspection standards and the same equipment we use on active loss sites to every assessment we do, from Trailblazer Water Damage home base here in Rialto.
Common Mistakes to Avoid
- Ignoring a pressure reading above 80 PSI: We’ve said it already and we’ll say it again. Above 80 PSI, the clock is running on your supply lines. A pressure-reducing valve installation is a one-time cost far smaller than a restoration claim.
- Hiding the water heater behind stored boxes: Every Rialto garage seems to have the water heater buried under storage. If you can’t see the pan, you can’t check the pan. Move the boxes or accept the risk.
- Assuming a ceiling stain is old and stable: Water stains don’t stabilize. If there’s a stain, there was a leak. If you don’t know when or what, find out. Stains that appear stable between rain events are still evidence of a leak that will return.
- Replacing only the line that failed: When a supply line bursts, the temptation is to replace the one that failed and call it done. If one line in a Rialto home fails from age or pressure, the others are equally aged and equally stressed. Replace them all at once.
- Not knowing where your main water shutoff is: Too many homeowners discover their main shutoff location during an active flood, fumbling through a dark garage while water pours from a failed line. Know where it is. Test it once a year. Mark it clearly.
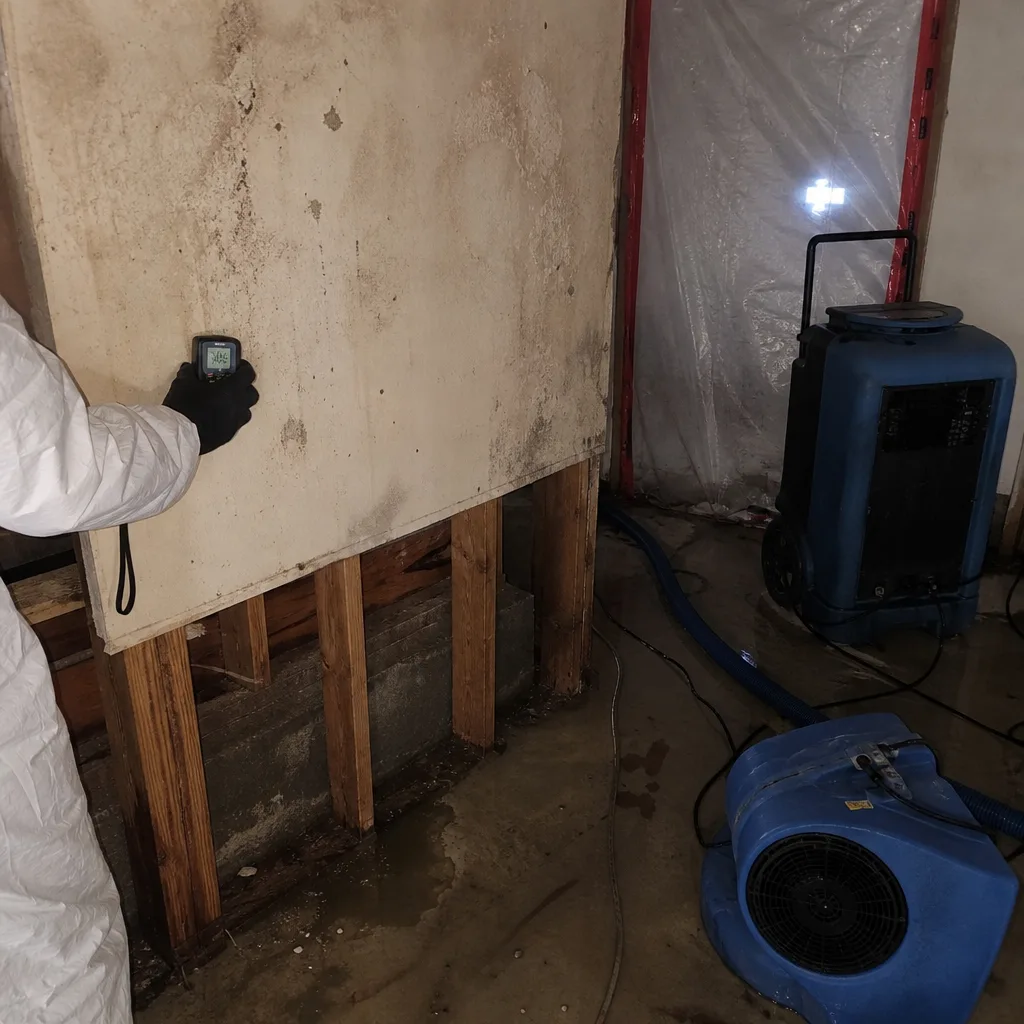
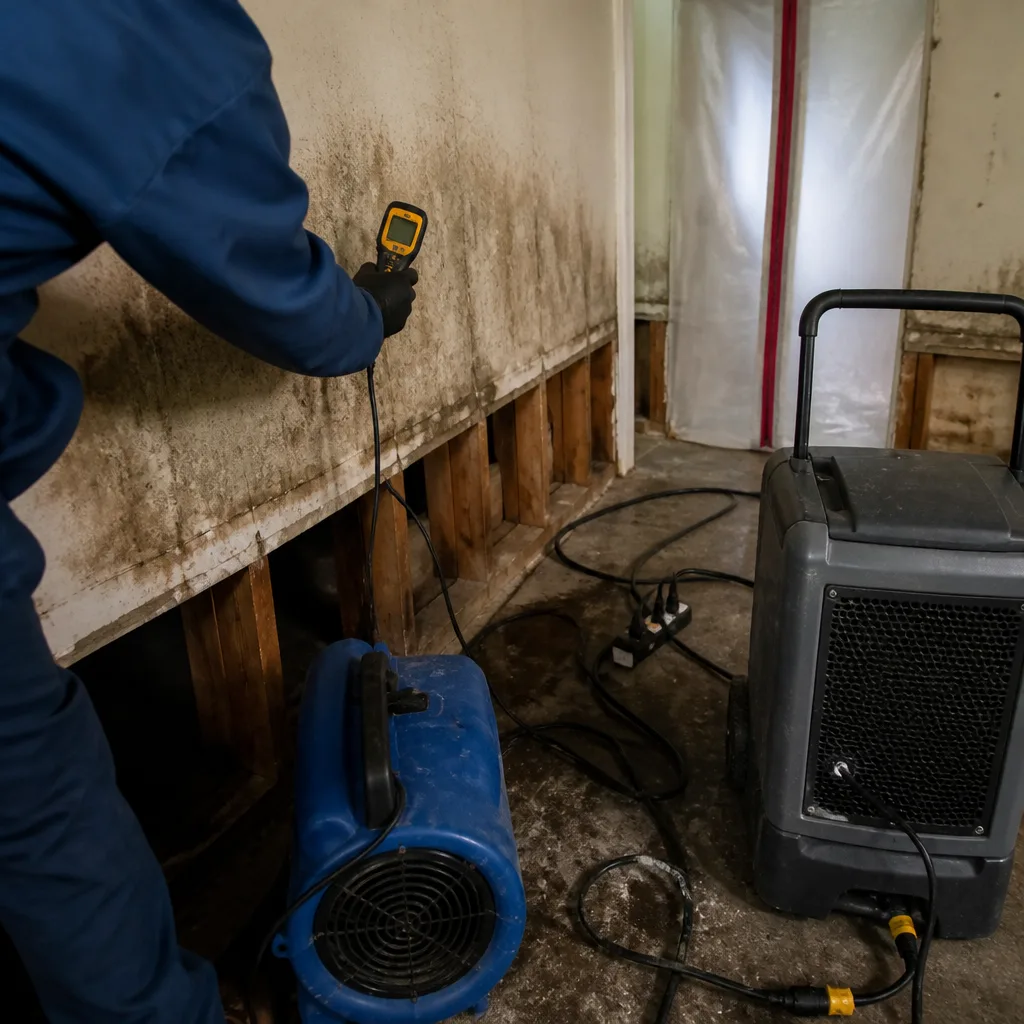
- Doing your own drying after a significant leak: Fans and open windows dry the surface, not the wall cavities and subfloor. Water trapped between drywall and framing will support mold growth, and you won’t see it until the smell starts. Professional drying uses equipment like our Dri-Eaz dehumidifiers and Injectidry cavity-drying systems that pull moisture from inside the walls, where the damage actually is.
See the difference
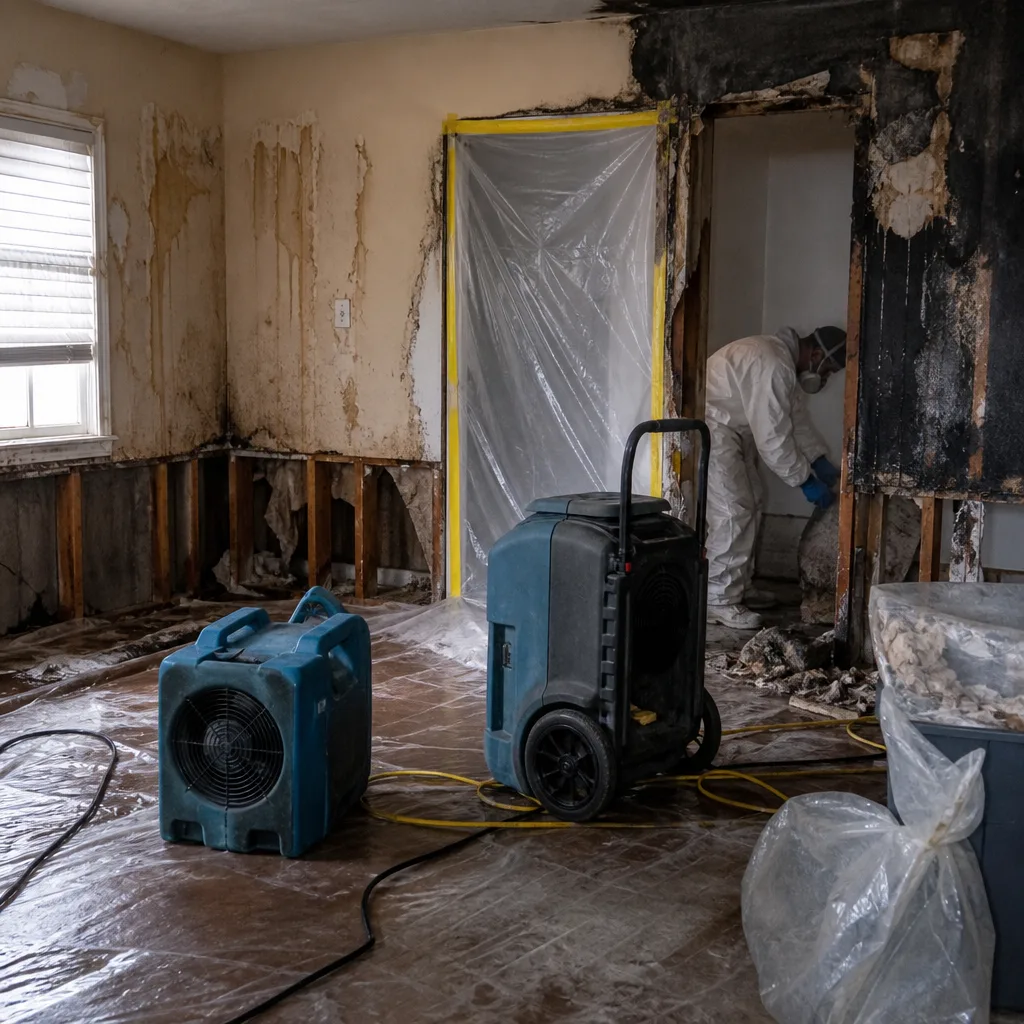 Before
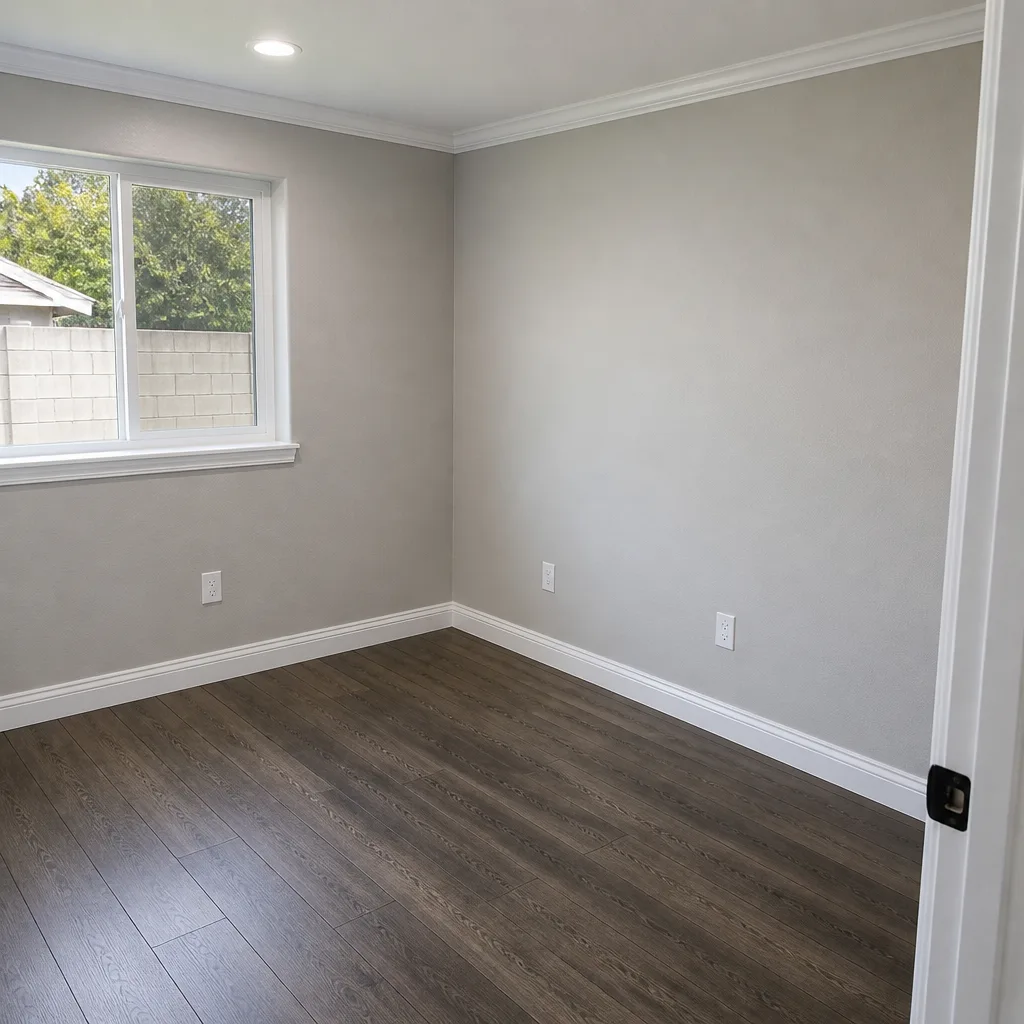 After
 Before
 After
 Before
 After
When to Call a Professional
Call a professional when water has been running inside your Rialto home for longer than a few minutes, when you see water staining on drywall or ceilings, when you can smell mustiness that shouldn’t be there, or when your water bill spikes with no explanation. Also call when you find any of the under-slab indicators listed above, when a supply line fails and soaks flooring or wall cavities, or when any leak involves your electrical panel area. The threshold isn’t the amount of water; it’s where the water traveled and whether building materials are saturated. If you’re not sure, the right call is the cautious one. Water Damage Restoration in Rialto is what we do. Trailblazer Water Damage offers free estimates in Rialto, call (866) 472-6137.
Frequently Asked Questions
Test static water pressure twice a year, ideally once in spring and once in fall before Santa Ana wind season. Rialto’s municipal pressure can vary by zone and by season, and a single reading doesn’t capture the full picture. If you read above 80 PSI, test quarterly until you’ve installed a pressure-reducing valve and confirmed stable pressures below 70 PSI.
Supply line failures at washing machines and water heaters are the most common sources we see, followed closely by galvanized pipe pinhole leaks in 1970s-1990s builds and clogged AC condensate lines in summer. The pattern is consistent enough that homeowners can prevent most of these failures with the annual checklist items covered in this guide.
Most homeowner’s policies cover sudden and accidental water damage, such as a burst supply line or water heater failure. Gradual damage from lack of maintenance, such as a slow leak that ran for months, is often denied or partially covered. This is why our guidance on photo documentation and annual inspection matters. A documented maintenance history changes the conversation with your adjuster. We coordinate directly with insurance carriers and can help you understand what your policy covers before you file a claim.
You can dry the visible surface with fans and a household dehumidifier, but you cannot dry the wall cavities, subfloor, and framing where the structural and mold risks live. Professional drying requires commercial equipment like Dri-Eaz dehumidifiers, air movers, and for wall cavities, Injectidry systems that force dry air into concealed spaces. If the water event involved more water than a couple of towels, the right move is professional assessment. Call (866) 472-6137 and we’ll tell you honestly whether the situation warrants professional drying or whether it’s something you can handle yourself.
Look at any exposed plumbing in your garage, under sinks, or at the water heater. Galvanized pipe is dark gray or dull silver with threaded connections and no soldered joints. If your home was built before the late 1990s and hasn’t been repiped, you almost certainly have galvanized supply lines. The failure risk increases with age, and replacement is a capital improvement that prevents the failure rather than responding to it.
Shut off the main water supply first. Then cut electrical power to any affected areas if water is near outlets or the panel. Then call a restoration professional. The first 24-48 hours are when most preventable secondary damage occurs, including mold development and structural saturation. Don’t wait to see if it dries on its own. Trailblazer Water Damage provides free estimates in Rialto, call (866) 472-6137.
The Bottom Line
Water damage in Rialto is not random. It follows patterns created by municipal water pressure, construction-era plumbing materials, seasonal weather shifts, and routine maintenance gaps. The homeowner who understands these patterns is the homeowner who catches a $200 angle stop failure before it becomes a $20,000 restoration claim. Test your pressure twice a year. Replace supply lines on schedule. Check the three ignored areas annually. Document your home with photos. Adjust your routine around Santa Ana winds and first rains. When in doubt about the severity of a water event, you can call Trailblazer Water Damage at (866) 472-6137 for professional assessment before the damage compounds. An ounce of prevention is a cliché, but in restoration, prevention isn’t about buying insurance. It’s about knowing what fails, where it fails, and checking it before it does.
Written by the team at Trailblazer Water Damage, serving Rialto since 2013.