Last updated October 30, 2026
 Water damage drying
 Fire & smoke cleanup
 Mold remediation
 Storm response
 Sewage cleanup
 Reconstruction
Free visual inspection and a written scope of work before any mitigation begins - photos, moisture readings, and drying logs go in your claim file
The scope we write is the scope we bill. Anything new gets shown to you, in writing, before we touch it.
Get your free estimateWater Damage Restoration Troubleshooting: Common Problems and How to Fix Them
Here’s a number most restoration contractors won’t volunteer: roughly one in four water damage mitigation jobs develops a secondary problem within the first year. Not because the technicians were lazy, but because drying science is unforgiving and shortcuts compound silently. A wall that feels dry at the surface can hold 20% moisture content a half-inch deep, quietly feeding mold that will announce itself six months later as a musty odor behind your couch. If you’re reading this from Rialto, where summer temperatures push past 100 degrees and swamp coolers add humidity to already warm indoor air, you’re dealing with conditions that reward aggressive drying and punish passive approaches. This guide walks through the most common failure points we see on restoration jobs, how to spot them before they become structural problems, and the exact escalation path when a contractor’s work doesn’t. For more detail, see The Complete Guide to Damage Restoration in Rialto hold up.
Quick Answer
Water damage restoration fails most often because of three fixable problems: equipment that’s undersized for the affected square footage, moisture readings taken at the surface instead of inside wall cavities, and drying timelines that are compressed to match insurance estimates rather than actual moisture conditions. The fix starts with demanding cavity-level moisture data, verifying the dehumidifier class matches the damage category, and pulling thermal imaging documentation that shows the drying front moving, not just surface temperatures dropping.
Restoration work we handle
Table of Contents
- How to Interpret Thermal Imaging Inconsistencies
- Why Drying Timelines Fail: The Three Root Causes
- When Clearance Readings Conflict With What You See and Smell
- Category 2 Water Being Treated as Category 1
- The Escalation Path: Callback, CSLB, Public Adjuster
- Equipment Gaps That Signal a Deeper Problem
- DIY and Handyman Restoration Mistakes We See in Rialto
How to Interpret Thermal Imaging Inconsistencies
A FLIR or thermal imaging camera shows temperature differences across surfaces, not moisture content. This distinction is where most homeowner confusion starts and where some contractors lean on the tool’s mystique to sell a story the data doesn’t support. A cold spot on a thermal image means that area of the wall, ceiling, or floor is cooler than surrounding material. That’s it. Cooler surfaces can indicate evaporative cooling from moisture, but they can also indicate missing insulation, an air leak from a vent, a shadowed corner that never warmed up, or a metal stud conducting cold from the exterior wall assembly.
What a cold spot should trigger is a follow-up reading with a penetrating moisture meter, the kind with pins that go into the material or a non-invasive sensor that reads at depth. In our experience in Rialto, where stucco exteriors and interior drywall create thermal lag, a cold spot on an east-facing wall at 8 a.m. is often just overnight cooling. By 2 p.m., that same spot should normalize. If it doesn’t, and if the cold pattern spreads in a way that follows gravity or wicking direction, you’re likely seeing genuine moisture migration.
Here’s what to demand when a thermal image raises questions:
- Ask for the paired moisture reading. A thermal image without a corresponding moisture meter number is half a diagnosis. We never document a thermal anomaly without pinning down the moisture content percentage at that exact location.
- Check the camera settings. Thermal cameras have adjustable emissivity and reflected temperature settings. If those are wrong, the image lies. A technician who can’t tell you the emissivity setting used probably can’t tell you much else.
- Request a sequence, not a single frame. One thermal image proves nothing. A series taken hours or days apart showing the cold spot shrinking demonstrates drying. A cold spot that persists or grows means the drying plan isn’t working.
- Be skeptical of “it’s just a shadow” explanations. Shadows don’t appear on thermal imaging the way they do in visible light. If a contractor dismisses a thermal anomaly without a moisture reading, push back.
In Rialto specifically, we’ve seen thermal imaging flag false positives around recessed lighting fixtures and uninsulated wall cavities common in homes built during the 1970s and 1980s building boom. Those homes often have no exterior wall insulation, so thermal bridging through studs reads as cold stripes. A competent restoration technician knows this. A technician who treats every cold stripe as water damage is either inexperienced or inflating scope. Knowing which one you’re dealing with matters because the fix is different: one is a drying problem, the other is a house quirk that doesn’t need mitigation.
For a deeper walkthrough of what professional drying should look like, see our guide to Water Damage Restoration in Rialto where we cover the full sequence from extraction to final clearance.
Why Drying Timelines Fail: The Three Root Causes
Most structural drying should be complete within three to five days. When a job stretches to seven or ten days or when a contractor is packing up equipment on day three claiming the job is done, one of three things is almost always true. Equipment is undersized, the wrong dehumidifier class is being used, or the airflow plan never accounted for the space’s actual air leakage. All three are checkable on site.
1. Equipment Undersizing
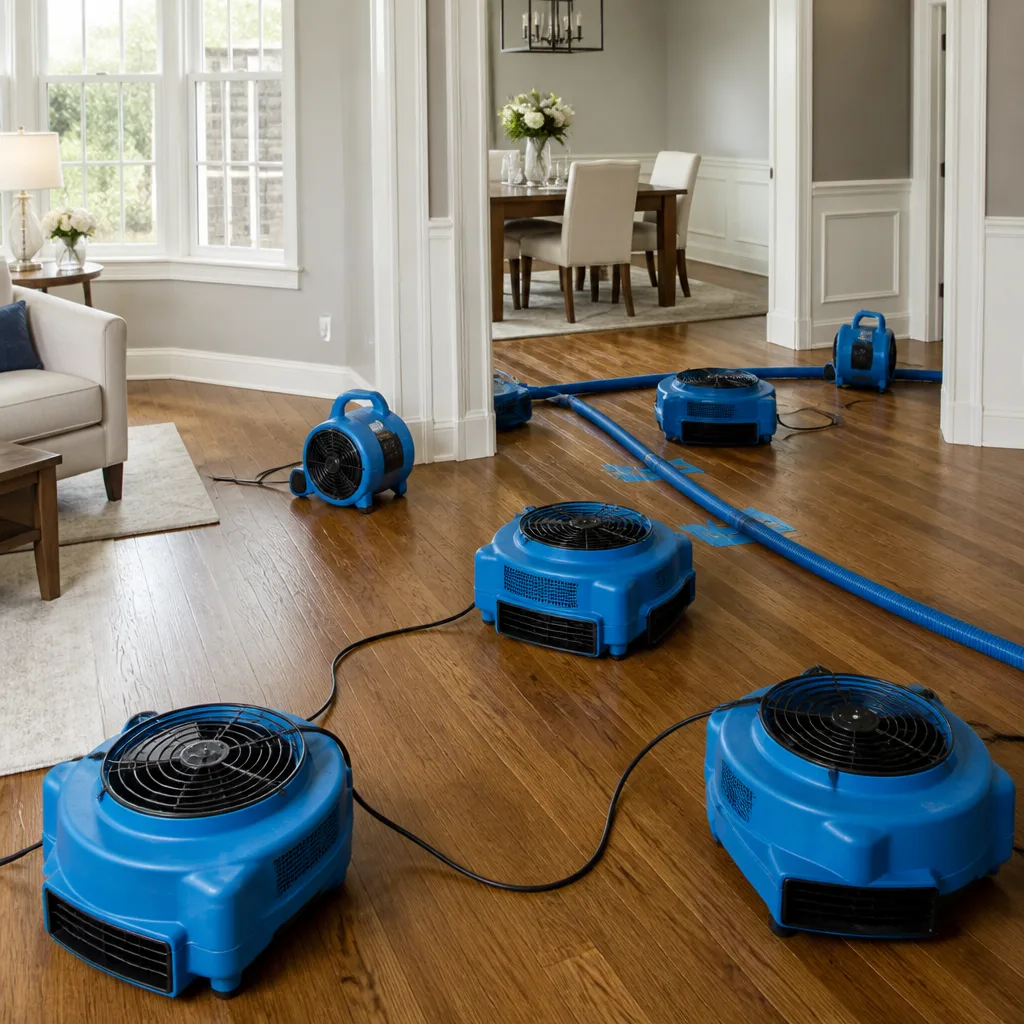
A 50-pint dehumidifier from a hardware store can handle a damp bathroom. It cannot handle 400 square feet of saturated carpet, pad, and drywall after a supply line burst. Professional restoration uses equipment rated by pints per day at AHAM conditions and by CFM of airflow. The standard is roughly 20 air changes per hour in the affected area. If your contractor shows up with two air movers for a 1,000-square-foot flooded basement, that’s not a drying plan, it’s a gesture. At Trailblazer Water Damage, our fleet includes Phoenix, XPOWER, and B-Air units sized for whole-room and whole-structure drying, and we calculate the load before we unload a single piece of equipment.
2. Wrong Dehumidifier Class
There are two main classes of dehumidifiers in restoration: LGR (low grain refrigerant) and desiccant. LGR units work efficiently down to about 45 grains per pound of air moisture. Below that, their extraction rate drops off sharply. Desiccant units use a rotating silica wheel and can pull moisture down to below 20 grains per pound. They also operate better at lower temperatures, which matters in Rialto during winter months when garages and unconditioned spaces drop into the 50s at night. If a contractor runs an LGR in a cold, tight crawl space, the drying curve flattens. The fix is either adding heat or switching to desiccant. We’ve corrected jobs in Rialto’s older neighborhoods where LGR units ran for a week and flatlined because nobody accounted for nighttime temperature drops in unconditioned spaces.
3. Skipped Negative Air Pressure in Crawl Spaces
Crawl spaces are where water migrates and drying plans go to die. Rialto has a mix of raised foundations, especially in the older housing stock south of the 210 and west of Riverside Avenue. A crawl space with standing water or soaked insulation needs containment and negative air pressure to direct airflow through the space and out through a filter or exhaust. Without negative air, humid air simply recirculates and the drying front stalls. The telltale sign is moisture readings that plateau around day four or five while the contractor blames “unusual conditions.” The condition isn’t unusual; the airflow plan is incomplete. We run negative air on any crawl space drying job we take in Rialto, full stop.
If you’re dealing with a crawl space that won’t dry and you’re within our service area, the information in our Trailblazer Water Damage home page outlines what an equipment-level drying setup should include.
When Clearance Readings Conflict With What You See and Smell
Clearance is the stage where a restoration contractor documents that moisture levels have returned to normal range, usually below 16% wood moisture equivalent for structural materials in this region. The problem is that clearance readings can be gamed through selective sampling. A technician can take five readings in dry spots, log those numbers, and ignore the one wall cavity still holding water. Or they can take surface readings on drywall that’s dry at the paper face but saturated behind the gypsum core.
You’re standing in a room that visually reads as water-stained, or you can smell mustiness, but the contractor hands you a clearance report with clean numbers. What do you do?
- Don’t sign anything. A signed completion form is your consent that the job is done. Once signed, the contractor’s leverage increases and your evidence file weakens.
- Ask for the full moisture map. Professional drying logs include readings from multiple points in each affected room, including inside wall cavities. If the log shows only surface readings or one reading per room, the data is insufficient.
- Independent verification. Call a third-party indoor environmental professional or a different restoration company for a second opinion. Expect to pay $200 – $500 for this, which is cheap compared to redoing remediation later.
- Test for mold if odor persists. Musty odor is a volatile organic compound signature. Air sampling or surface swab testing can identify elevated mold levels even when moisture readings look normal on paper.
- Document everything. Photos, dated notes, text exchanges, and the original scope of work. This file becomes your leverage in any dispute.
The most common version of this we see in Rialto homes is surface readings taken on textured drywall where the texture itself masks elevated moisture underneath. Orange peel and knockdown textures create air gaps that confuse non-invasive meters. A pin-type meter pushed into the drywall behind the texture is the only way to get a true reading. If your clearance report doesn’t include any pin readings, ask why.
Odor is the second giveaway. Dry materials don’t smell. If you’re walking into a “cleared” room and catching a musty note, your nose is detecting microbial activity or ongoing evaporation. Trust it. Get a second opinion before signing off. For questions about whether lingering odor means mold, read through our Mold Remediation in Rialto page for what professional mold assessment actually involves.
Category 2 Water Being Treated as Category 1
Water damage has three categories of contamination defined by the IICRC S500 standard. Category 1 is clean water from a supply line or faucet. Category 2 is gray water that contains significant contamination: washing machine overflow, dishwasher discharge, toilet overflow with urine but no feces, sump pump failures. Category 3 is black water: sewage, floodwater, anything containing pathogens.
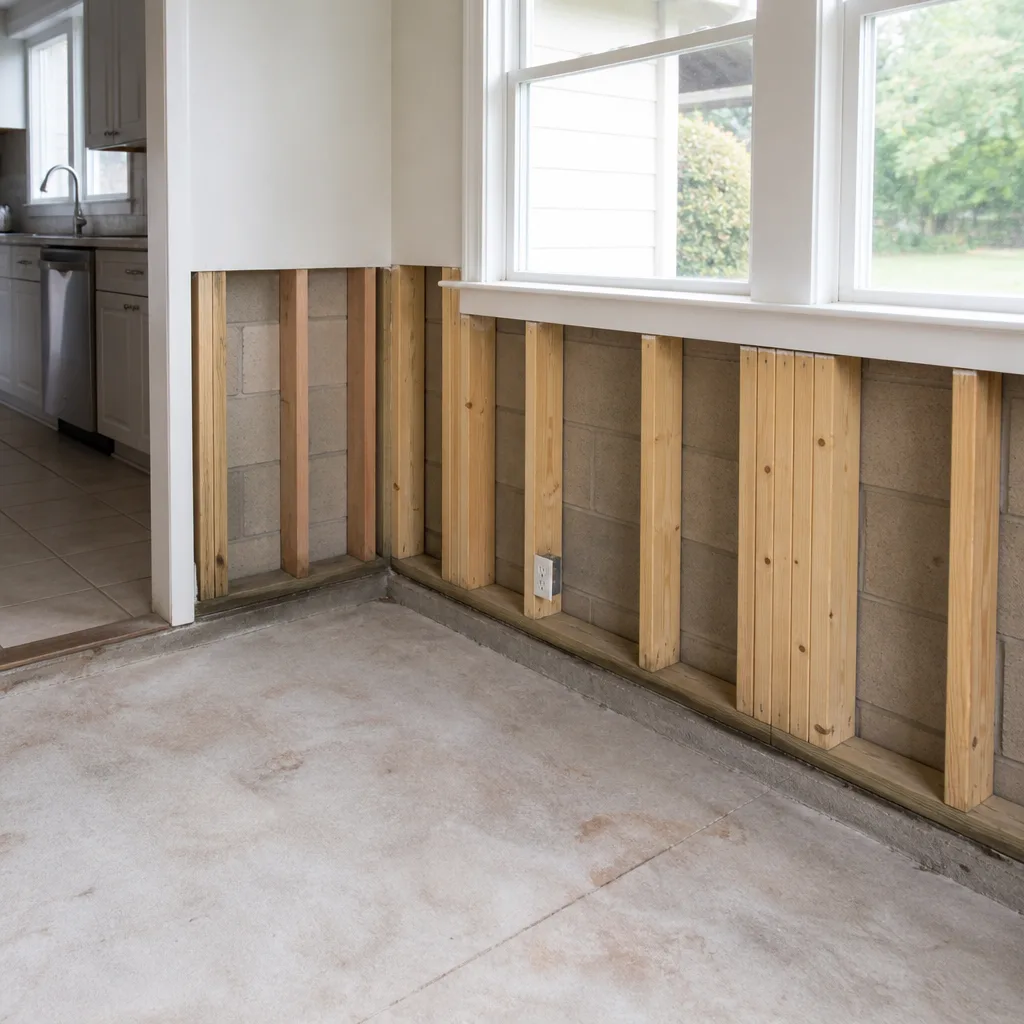
The distinction matters because Category 2 water changes the scope of work. Carpets and pads soaked with Category 2 water almost always get removed, not saved. Hard surfaces require antimicrobial treatment. Drywall that has absorbed gray water is cut out up to the water line plus a margin, not dried in place. If a contractor treats a Category 2 loss as Category 1, they’ll try to dry-in-place materials that should be discarded, they’ll skip the antimicrobial application, and they’ll under-specify the containment.
In Rialto, we see Category 2 confusion most often with washing machine overflows in condos and older homes where the laundry sits inside a living space rather than a garage. The water picks up detergent, fabric softener residue, skin cells, and sometimes mildew already present in the drum. That’s gray water by definition, and the right protocol is extraction, removal of porous materials, and antimicrobial treatment of any salvageable surfaces.
How to spot Category 2 being mishandled:
- The contractor tries to dry carpet and pad that were soaked in dishwasher or washer discharge instead of removing them.
- No antimicrobial is mentioned or applied, and the scope of work doesn’t list one.
- Containment is minimal or nonexistent, allowing gray water aerosols to spread during extraction.
- The contractor uses language like “it’s really not that dirty” to downplay the contamination source.
If the source was anything other than a clean supply line, the burden is on the contractor to explain why they’re treating it as Category 1. We default to the higher category whenever there’s any doubt. The cost difference between Category 1 and Category 2 treatment is real, but the downstream cost of under-treating gray water is mold, odor, and a re-do that insurance often won’t pay for twice.
The Escalation Path: Callback, CSLB, Public Adjuster
When a restoration job goes wrong, most homeowners escalate incorrectly. They start with a lawyer, skip the callback, and end up frustrated with the process. The effective sequence is specific and ordered.
- The contractor callback. Every legitimate restoration company wants to fix a problem before it becomes a complaint. Document the issue with photos and moisture readings if you have them, then call the project manager or owner directly. Put the concern in writing by email after the call. Give them a reasonable window to respond, typically 3 to 5 business days. Most problems get corrected here if the company is reputable.
- The CSLB complaint. In California, the Contractors State License Board regulates restoration contractors. Filing a complaint doesn’t cost anything and creates a formal record. The CSLB can mediate disputes and, in cases of substandard work or license violations, take disciplinary action. Include every piece of documentation: original scope, photos, the conflicting clearance report, and your written correspondence showing you attempted to resolve directly. For a Rialto homeowner, this is the state-level mechanism with actual teeth.
- Public adjuster engagement. A public adjuster represents you, not the insurance company, in claim disputes. They’re appropriate when insurance denies a claim based on a contractor’s clearance report that you believe is inaccurate, or when the insurer won’t pay for re-drying and mold remediation after a failed restoration. Public adjusters work on contingency, typically 10% to 15% of any additional recovery. They’re not for small disputes, but when a failed drying job turns into a mold claim, they earn their percentage.
Legal action is the last resort, and most attorneys will tell you the same thing: document, attempt direct resolution, file the regulatory complaint, then consider litigation. By the time you’ve completed the first three steps, you either have a resolution or a strong evidentiary file.
One note specific to our region: Rialto falls under CSLB jurisdiction for any contractor performing work over $500 in value. If an unlicensed handyman did your restoration work and it failed, your options are narrower. That’s a hard lesson we hear from homeowners regularly. For anything involving structural drying, mold, or sewage, insist on a licensed restoration contractor from day one. Our team handles water and mold work under one roof, which eliminates the mid-project handoff problem we discussed in our Mold Remediation in Rialto overview.
Equipment Gaps That Signal a Deeper Problem
The equipment a restoration contractor brings to your home tells you almost everything about their capability before they take a single moisture reading. Here’s what we’d look for if we were auditing another company’s setup on a Rialto job site.
Air movers. Professional drying uses centrifugal air movers that focus airflow in a tight pattern across wet surfaces. Box fans and floor fans are not restoration equipment, and their CFM output is a fraction of what a proper air mover produces. If the “fleet” is hardware store fans, the drying plan is not serious.
Dehumidifiers. We touched on LGR versus desiccant earlier, but the brand and class matter. Dri-Eaz, Phoenix, and Injectidry are the industry standards because they’re engineered for structural drying, not home humidity control. An LGR from one of these manufacturers in a hot, wet Rialto garage will drop the grain count predictably. A homeowner dehumidifier running the same space will cycle off when its bucket fills and stop drying altogether.
Cavity drying systems. This is the biggest differentiator. Standard drying treats surfaces. Cavity drying treats the space inside walls and under floors. Injectidry systems push filtered, dehumidified air directly into wall cavities and subfloor spaces through small ports, drying the structure from the inside. Without a cavity drying system, wet drywall and subfloor either get torn out or get dried very slowly from the surface inward. The Injectidry approach means smaller repair scope, faster dry times, and less demolition. When a contractor doesn’t have cavity drying capability, they’ll default to more tear-out, which costs more in reconstruction even if the drying bill looks similar.
Moisture meters. Protimeter and Delmhorst are the two names you want to see. Pin meters, pinless meters, and the ability to take readings in materials from drywall to hardwood to concrete. A contractor using a $30 hardware store meter is guessing.
Our equipment trailer carries Phoenix and XPOWER air movers, B-Air for negative air, and Injectidry panels for cavity drying. That’s the standard we’d want applied to any home we took responsibility for, in Rialto or anywhere else.
DIY and Handyman Restoration Mistakes We See in Rialto
Water damage has a way of looking simpler than it is. The water is visible. You mop it up. You point fans at it. Done. This line of thinking is responsible for most of the failed restoration jobs we eventually get called to correct.
The Six Mistakes We See Repeatedly
- Pulling baseboards too late. Water wicks up drywall behind baseboards fast. If the baseboards stay in place for 72 hours after the water event, the sill plate behind them stays wet and starts wicking moisture into the framing. In Rialto’s dry climate, homeowners sometimes think the air will handle it. The air handles the surface. The framing stays wet.
- Running fans without dehumidification. Moving air over wet surfaces speeds evaporation, which raises humidity in the space. Without a dehumidifier pulling that moisture out of the air, you’re just moving water from the floor into the air and then into the walls and ceiling. Evaporation without dehumidification is how you turn a floor problem into a whole-room problem.
- Lifting wet carpet without pad removal. Carpet can often be saved. Carpet pad soaks water like a sponge and rarely dries in place. If the pad isn’t pulled, it stays wet for weeks, feeding mold growth at the floor level where you can’t see it until odor develops.
- Ignoring the crawl space or basement. Water runs downhill. A leak in a kitchen often ends up in the crawl space below, soaking insulation, subfloor, and framing. Surface drying the kitchen while ignoring the crawl space is a half-fix. In Rialto’s raised foundation homes, this is where we find the worst undetected damage.
- Sealing up before it’s dry. Reinstalling drywall, flooring, or trim over materials that haven’t reached dry standard traps moisture in place. Mold doesn’t need much. 20% moisture content and warm temperatures will do it. Sealing early is worse than doing nothing.
- Treating all water as equal. We covered Category 2 earlier, but the confusion extends to Category 3. If sewage backed up into a Rialto home and someone treats it like clean water, the health risk is immediate. Sewage water carries pathogens that require full PPE, containment, and disposal protocols.
If you’ve started a DIY drying effort and it’s been more than 48 hours without obvious progress, stop and call in professionals. The window for saving materials closes fast. After about 72 hours of sustained moisture, mold colonization becomes a real risk and the scope shifts from drying to remediation. That’s more cost, more disruption, and more time.
For Rialto property managers handling tenant damage, the stakes are higher. Tenants report water slowly, or not at all, and by the time anyone knows, the damage has had days to soak in. Our Fire Damage Restoration in Rialto page covers another scenario where delay compounds damage, but the principle is the same: the clock starts at the moment of the event, and every hour matters.
Common Mistakes to Avoid
- Signing a completion certification without independent moisture verification. That signature waives your ability to contest the work later. Get your own readings first, even if you have to rent a moisture meter for a day.
- Accepting a drying plan with no equipment count or layout. A serious plan specifies how many air movers, what class of dehumidifier, and where each unit goes. A vague verbal plan is a red flag.
- Letting the contractor skip containment. Drying creates aerosols that can carry mold spores and contaminants from the wet area into the rest of the house. Containment with negative air isolation is standard practice on anything but the smallest clean water losses.
- Filing an insurance claim without documenting pre-existing conditions. Insurance adjusters will look for reasons to attribute damage to pre-existing issues. Photos from before the loss, or a thorough move-in inspection report, protect you during the claim.
- Choosing a contractor based on price alone. Restoration pricing varies, and the cheapest bid often reflects fewer equipment days, no cavity drying, and a scope that under-treats the damage. You’ll pay the difference later in mold remediation or reconstruction.
- Ignoring an unexplained electric bill spike after the job. If a restoration company ran equipment for two weeks and the job still failed, something was off. But if they claim three days of drying and your bill shows a two-week load, someone is padding the drying report. Compare the equipment log to the utility billing period.
- Skipping the antimicrobial step on gray water jobs. If Category 2 water was involved and no antimicrobial was applied, the job is incomplete by definition. This is a cheap step to skip and an expensive one to omit.
See the difference
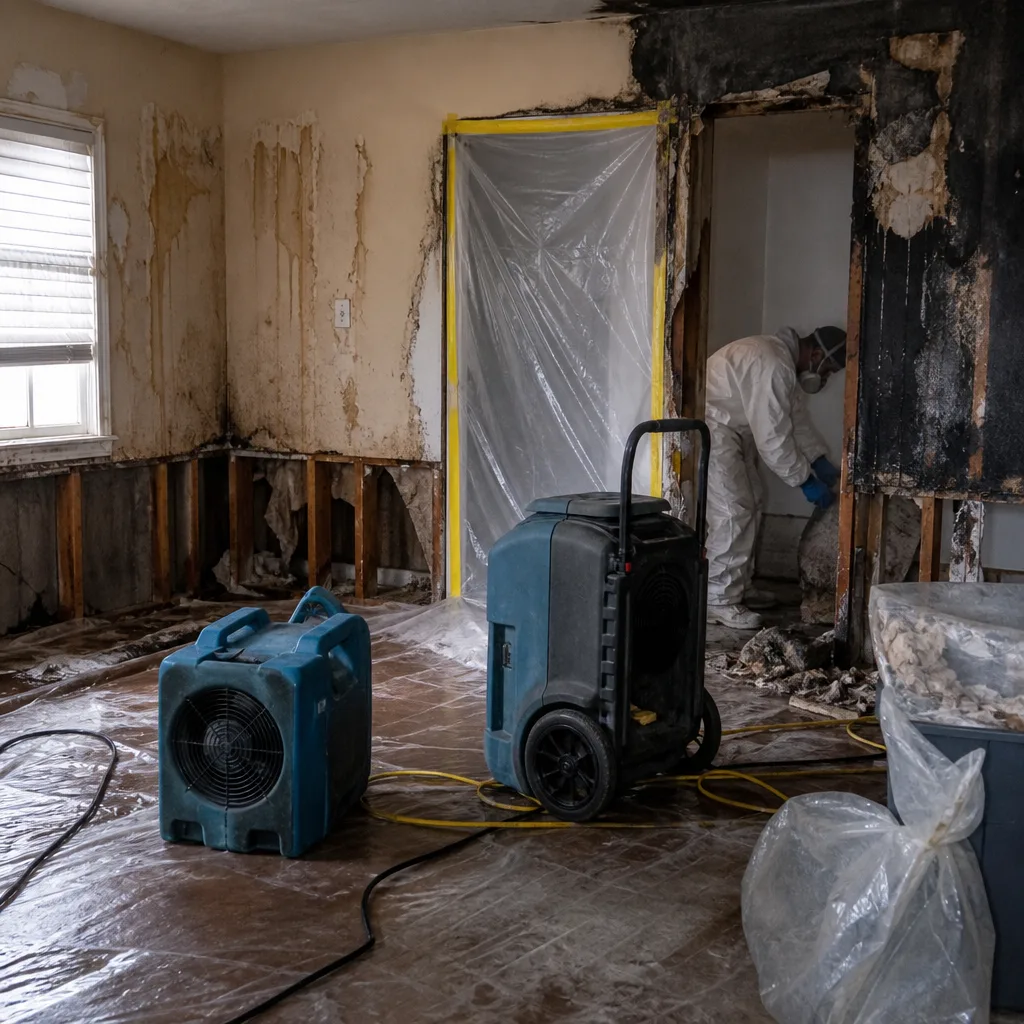 Before
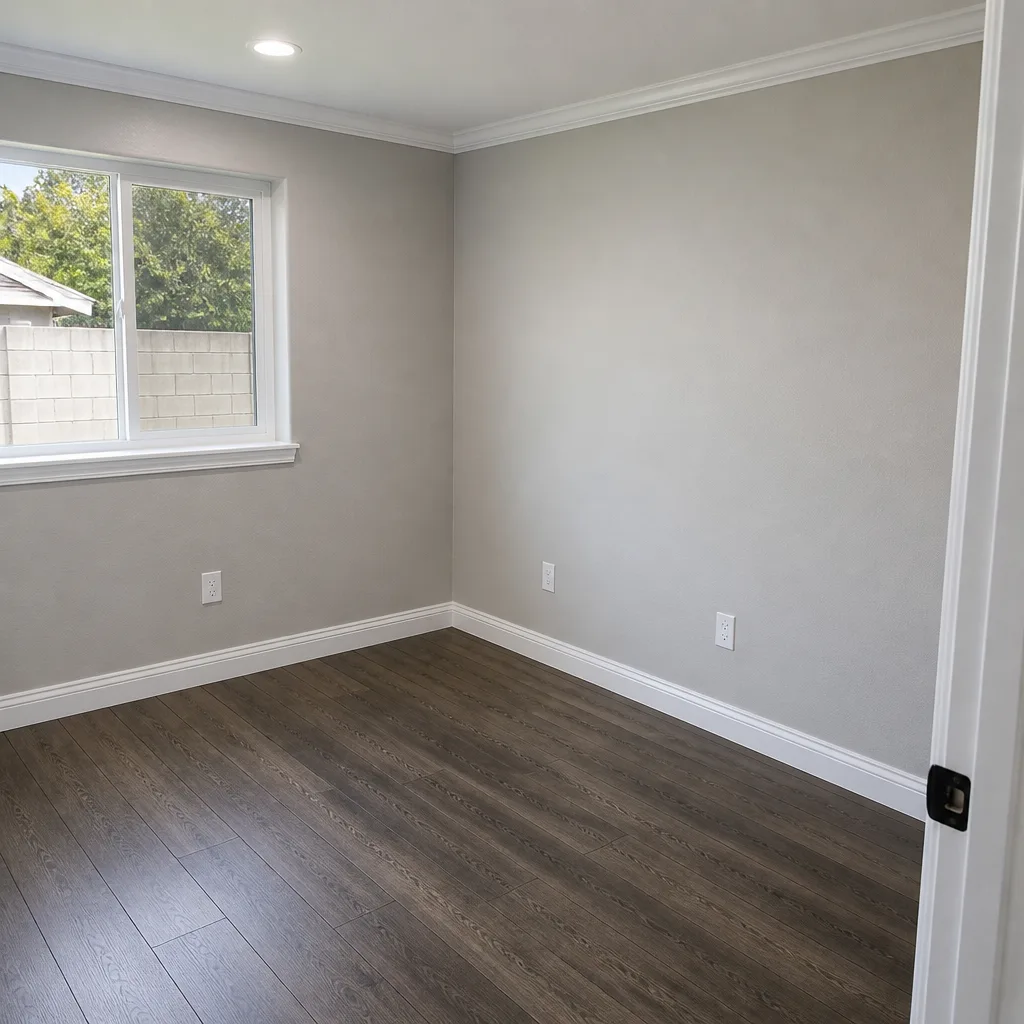 After
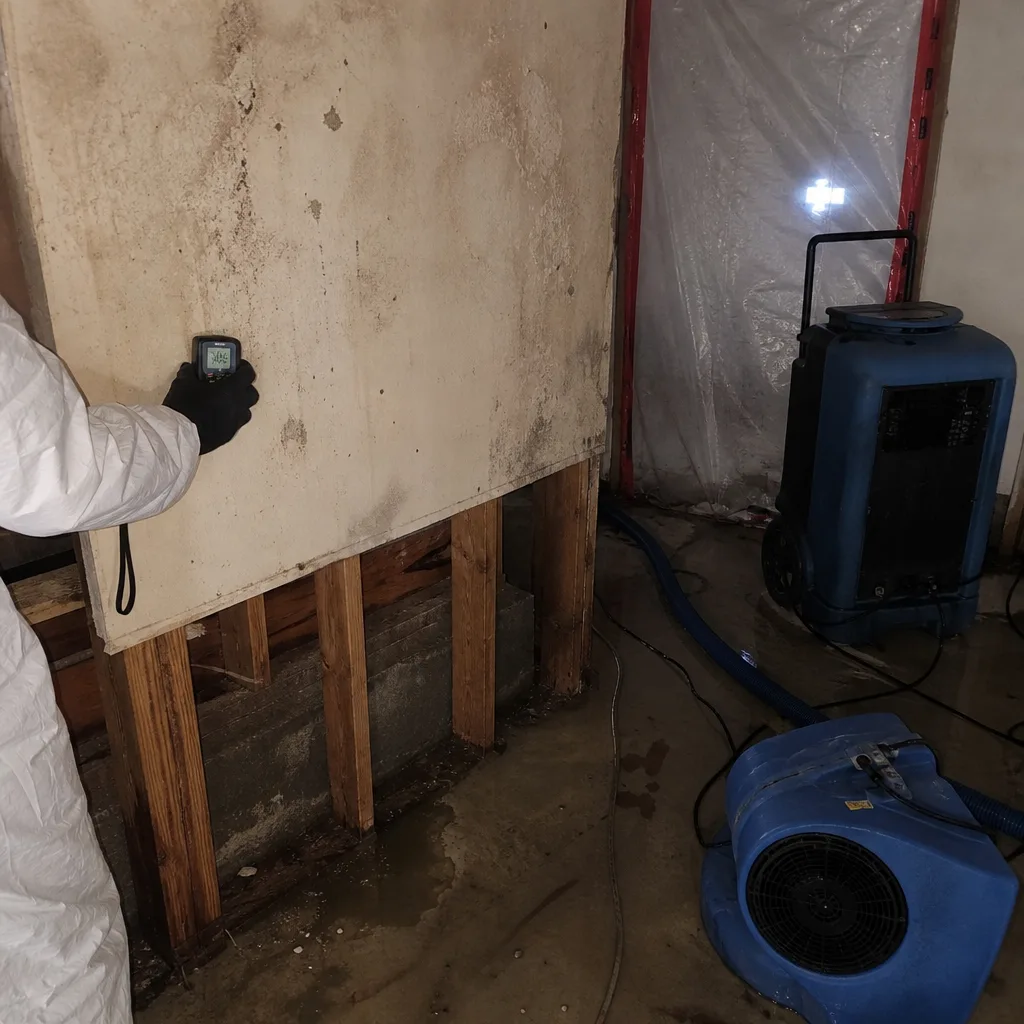 Before
 After
 Before
 After
When to Call a Professional
Call when the water source is a sewage backup, when the affected area includes wall cavities you can’t see into, when more than 24 hours have passed since the water event, or when your own drying efforts haven’t produced measurable progress in two days. Also call when an existing restoration job has stalled: readings have plateaued, odor persists, or the contractor is pushing you to sign off against your instincts. Trailblazer Water Damage offers free estimates in Rialto, and we’d rather walk a property and tell you it’s fine than have you sign off on a bad job. Call (866) 472-6137 if you’re unsure about where your project stands.
Frequently Asked Questions
Correct restoration ends with moisture readings below 16% wood moisture equivalent in all affected materials, including inside wall cavities, and a clearance report that maps those readings room by room. If your contractor can’t show you a moisture map with cavity-level data, the documentation is incomplete and the job may not be done.
Yes. Drywall, subfloor, and framing can feel dry at the surface while holding elevated moisture deep in the material. This is the exact scenario where mold develops behind finished surfaces, and it’s why professional drying uses penetrating moisture meters rather than touch as the standard.
Don’t sign the completion form. Request cavity-level moisture readings and, if odor persists, an air or surface sample for mold. Get an independent second opinion before escalating to the CSLB or your insurance company.
Most clean water losses in Rialto homes dry within three to five days with properly sized equipment. Gray water losses take longer because of removal and antimicrobial steps. Longer than seven days without a documented reason usually indicates an equipment or airflow problem.
If the original loss was covered, and re-drying or mold remediation is required because the first restoration was inadequate, additional coverage may be available through the original claim. A public adjuster can help argue this if your insurer resists. Documentation from the original job is essential.
A restoration contractor is licensed, carries drying equipment sized for structural work, follows IICRC standards, and can document the process for insurance claims. A handyman typically lacks all four. In California, any water damage job over $500 should go through a licensed restoration contractor, not a general handyman.
The Bottom Line
Water damage restoration fails in predictable ways: undersized equipment, wrong dehumidifier selection, skipped cavity drying, miscategorized water, and premature clearance. Every one of these failure points is checkable by a homeowner who knows what questions to ask. Demand cavity-level moisture data, verify the equipment class and count, understand the water category, and never sign a completion form while your nose or your moisture meter says the job isn’t done. If you’re in Rialto and you’re worried about any stage of a restoration project, current or past, call (866) 472-6137. A second opinion costs less than rebuilding a wall or fighting a mold claim a year from now. For more guides & resources, visit our blog.
Written by the team at Trailblazer Water Damage, serving Rialto since 2013.