Last updated October 30, 2026
 Water damage drying
 Fire & smoke cleanup
 Mold remediation
 Storm response
 Sewage cleanup
 Reconstruction
Free visual inspection and a written scope of work before any mitigation begins - photos, moisture readings, and drying logs go in your claim file
The scope we write is the scope we bill. Anything new gets shown to you, in writing, before we touch it.
Get your free estimateDIY vs Professional Damage Restoration: The Rialto Homeowner’s Decision Guide
Here’s something most homeowners don’t realize until it’s too late: the single biggest variable in a water damage claim isn’t how much water hit the floor or how fast you grabbed a towel. It’s whether the water was clean, gray, or black, and how deep it penetrated the structure. A Rialto homeowner who spends an entire weekend drying out a burst supply line with rented fans may end up with a space that looks fine and feels dry, but without documentation that meets industry dry-standard, a future mold claim can be denied outright. This guide walks through exactly where the DIY line sits, what equipment actually matters, and when a certified response is the only route that protects your home and your insurance position; for additional help, see our How to Hire a Damage Restoration Contractor in Rialto: A Step-by-Step Guide.
Quick Answer
DIY damage restoration in Rialto is realistic only for small Category 1 water losses (clean water from a supply line or faucet) that are caught within hours, affect less than roughly 10 square feet, and involve no wall or floor cavity penetration. Everything else, including any Category 2 or Category 3 water, any mold growth beyond surface spotting, and any fire or smoke damage, requires professional equipment and documentation that homeowners cannot credibly produce on their own.
Restoration work we handle
Table of Contents
- The IICRC’s Three Water Categories: What You’re Actually Standing In
- When DIY Restoration Actually Works in Rialto
- The Real Cost of a Legitimate DIY Setup
- The Documentation Gap: Why Your Phone Photos Won’t Save You
- California Contractor Law and the DIY Permit Trap
- Scenario Matrix: Three Rialto Loss Types, Three Different Answers
- Why Mold and Fire Restoration Are Never DIY Projects
- The Insurance Reality: What Adjusters Actually Look For
The IICRC’s Three Water Categories: What You’re Actually Standing In
The IICRC, the restoration industry’s standards body, classifies water damage into three categories. Knowing the difference is the single most important decision point in the DIY-versus-professional question.
Category 1 (clean water) comes from a sanitary source: a burst supply line, a failed faucet, a water heater leak from the supply side, or rainwater that enters through a freshly opened hole. It presents no immediate health risk from the water itself. Category 1 is the only class where limited DIY response is defensible, and even then only under specific conditions we’ll cover below.
Category 2 (gray water) contains significant contamination: discharge from washing machines, dishwasher overflow, toilet overflow with urine but no feces, or water that has sat for more than 24 hours and begun growing bacteria. This bacteria multiplies fast. What starts as Category 1 becomes Category 2 after roughly 24 to 48 hours of standing, even if the source was clean. In Rialto’s summer heat, with indoor temperatures regularly exceeding 80 degrees, that biological clock runs faster than it does in coastal climates.
Category 3 (black water) is grossly contaminated: sewage backups, toilet overflows with feces, floodwater from outside, or any water that has passed through building materials and picked up heavy bacterial loads. Category 3 contains pathogens, bacteria, and often raw sewage. Under California health codes and IICRC standards, Category 3 water is not something a homeowner can legally or safely self-remediate. The affected porous materials (drywall, carpet, pad, insulation) must be removed and disposed of, and non-porous surfaces require antimicrobial treatment and professional drying.
The rule is clean, not complicated: Category 1 DIY has a narrow lane. Category 2 requires professional extraction. Category 3 is hands-off for any homeowner.
Our Water Damage Restoration in Rialto service starts with categorizing the water correctly on arrival, which determines the entire scope, the equipment deployment, and the documentation trail.
When DIY Restoration Actually Works in Rialto
We’re not going to tell you that every drop of water needs a four-figure professional response. That would be dishonest. Here’s the honest version: a homeowner in Rialto can self-remediate a true Category 1 loss if and only if all of the following conditions are met.
- The water source is sanitary and you know exactly where it came from: a supply line, a faucet, an ice maker line, a water heater tank that failed on the supply side.
- The affected area is small, roughly 10 square feet or less, with no water running under baseboards, into wall cavities, or through floor gaps to a lower level.
- The water was caught within a few hours, before it had time to wick into drywall, subfloor, or insulation.
- You have a moisture meter and know how to use it, not just your fingertips and a vague sense that things feel dry.
- You are willing to document everything with timestamps, before-during-after photos, and moisture readings at regular intervals.
- No electrical outlets, switches, or junction boxes were exposed to water.
Miss any one of these conditions and the DIY lane closes. It closes harder in Rialto for a simple climate reason: the Inland Empire’s dry heat can create a false sense of security. A surface feels bone-dry within a day while the wall cavity behind it still holds 25% moisture content. That hidden pocket is where mold takes hold within 48 to 72 hours, especially during summer months when ambient humidity in enclosed spaces spikes at night, which is why we recommend our Seasonal Damage Restoration Care for Rialto: Year-Round Homeowner’s Guide.
The most common scenario we see in Rialto neighborhoods north of the 210 is a bathroom supply line that burst while the homeowner was at work. By the time they get home, the water has been sitting for six to eight hours. That’s not a worst-case scenario for Category 1, but it’s already past the point where surface drying alone is sufficient. The subfloor under tile, the drywall behind the vanity, the baseboard cavities, all of it starts wicking water upward and outward.
The Real Cost of a Legitimate DIY Setup
Let’s talk about what you’d actually need to buy or rent to do a legitimate Category 1 dry-out, and what it costs. This is where most DIY math falls apart, because the comparison people make is “shop vac plus box fans” versus “professional invoice” when the real comparison is “adequate equipment plus 40 hours of my time” versus “certified team with commercial gear and a signed dry-standard log.”
Here’s the minimum legitimate DIY toolkit for a 10-square-foot Category 1 loss:
- Moisture meter with pins: $60 to $150 for a homeowner-grade unit, but be aware that cheap meters often drift in accuracy. We use professional meters that cost considerably more and are calibrated regularly. Without a reliable meter, you cannot confirm you hit dry-standard, which is the entire point.
- Dehumidifier sized for the space: For even a small bedroom or bathroom, you need a unit rated at 50 pints per day or higher. Rental cost from a tool rental shop typically runs $40 to $80 per day. Purchase cost for a quality unit like a Dri-Eaz or equivalent is $1,500 to $2,500. A standard consumer dehumidifier from a big box store that does 20 pints per day is not sufficient for structural drying after standing water.
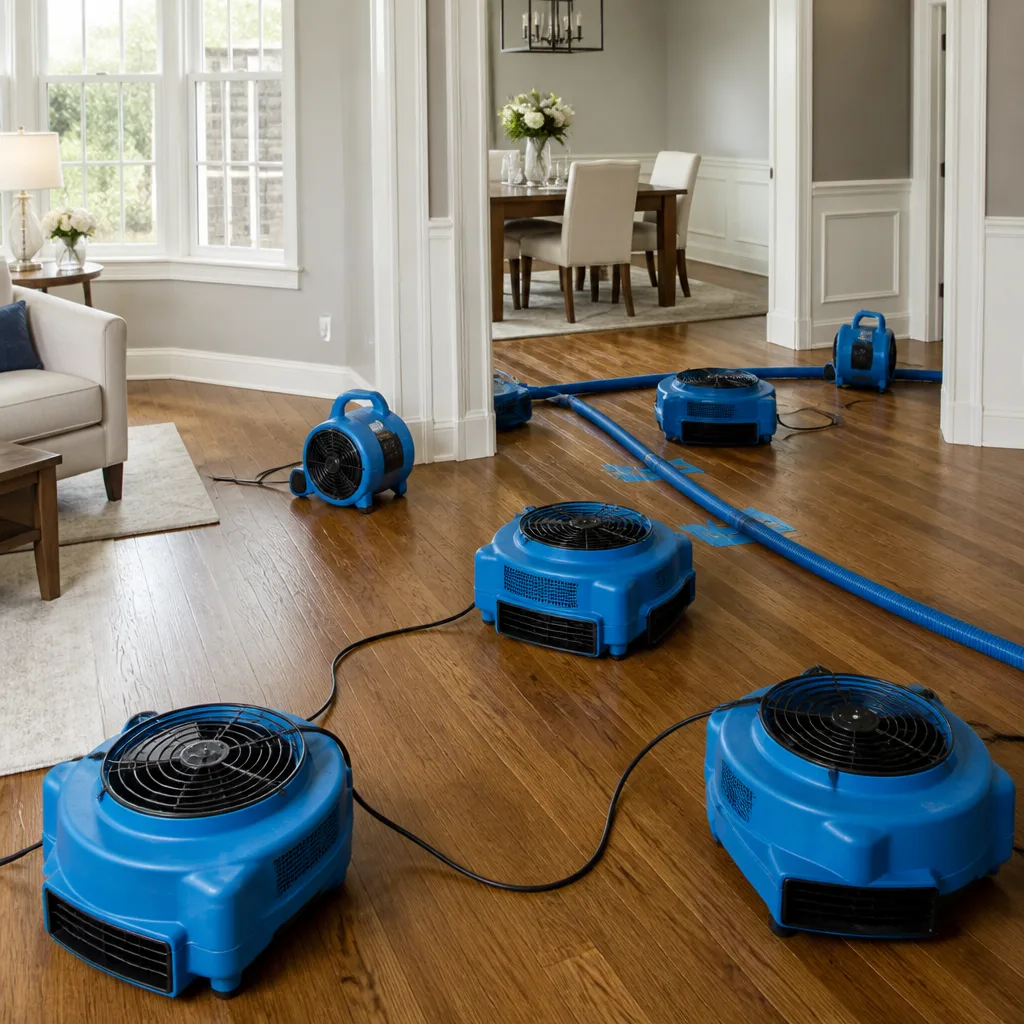
- High-velocity air movers: At least two, positioned to create airflow across the affected surfaces. Rental cost is $25 to $45 per day per unit. Consumer box fans do not generate the CFM needed to pull moisture from materials, and they’re not designed for continuous multi-day operation.
- Containment plastic and tape if you’re opening any wall cavity: $40 to $100. Not optional if you cut drywall, which we generally advise against doing yourself.
Add it up and a three-day DIY dry-out with rented equipment runs $300 to $500 and owns your weekend, assuming the drying actually completes in three days. If the moisture hasn’t dropped to acceptable levels by day three, you’re now renting equipment for another week and the professional invoice you were avoiding starts looking less expensive than the alternative: a failed dry-out that turns into mold remediation.
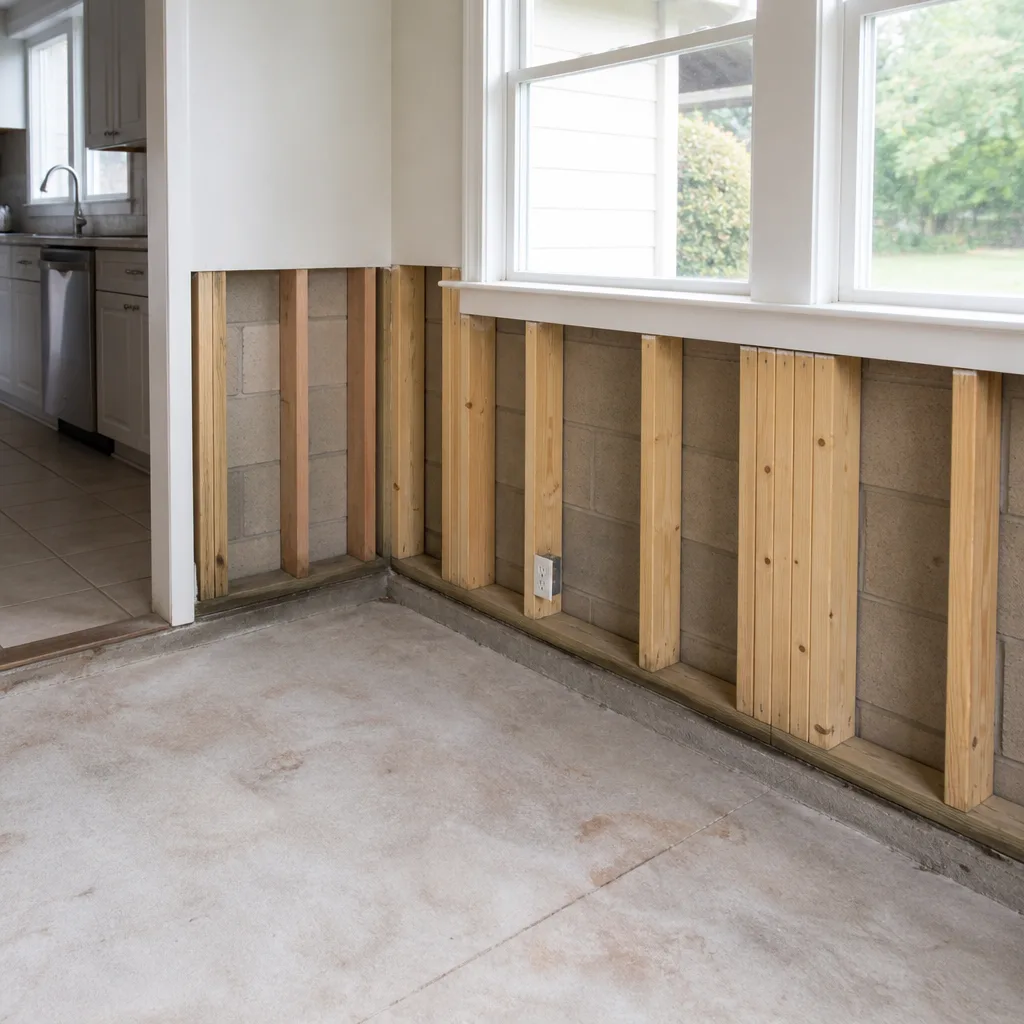
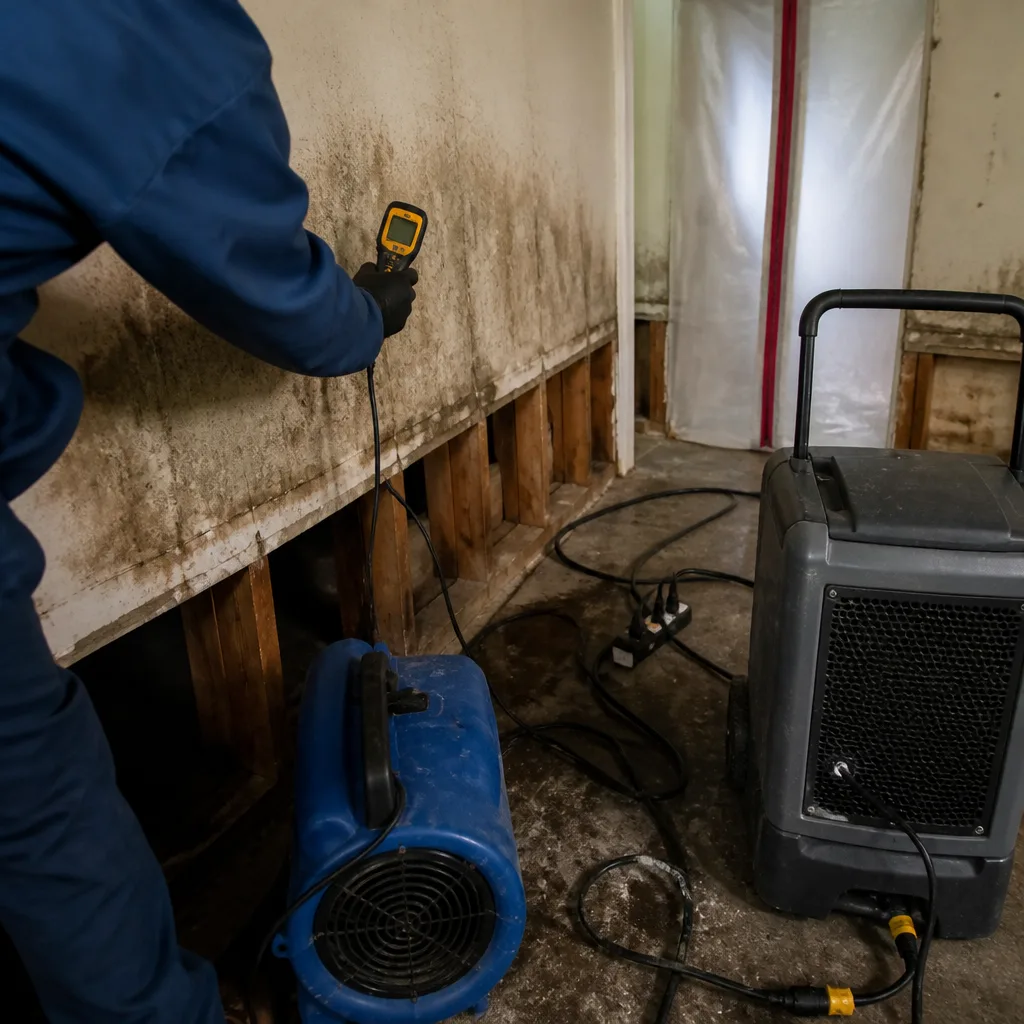
The professional advantage isn’t just bigger equipment. It’s brands like Dri-Eaz and Phoenix, commercial units that move dramatically more air and extract more moisture per hour than rental fleets, plus the Injection-style cavity drying systems like Injectidry that dry inside walls and under floors without cutting them open. That last capability matters more than most homeowners realize. An IICRC-certified mold remediation contractor in Rialto can dry the inside of a wall cavity through small drilled holes, preserving the drywall and eliminating the need for teardown, patching, and repainting that a DIY job would require.
The Documentation Gap: Why Your Phone Photos Won’t Save You
Here’s the part of the DIY-versus-professional decision that almost every homeowner misses, and it’s the one that can cost you years down the road.
Suppose you handle a small Category 1 loss yourself. You dry it out. Everything looks fine. Six months later, mold appears in the same wall cavity, or you detect a musty odor, or a family member develops respiratory symptoms. You file a mold claim with your insurer. The adjuster asks for documentation of the original loss and the dry-out.
What do you have? Phone photos with timestamps. Maybe a receipt for a rental dehumidifier. What you don’t have is a moisture log: the dated, timed, room-by-room record of moisture content readings showing that the affected materials were returned to acceptable dry-standard. Without that signed, instrument-based log from a certified technician, the insurer’s position is straightforward: the prior loss was not professionally documented, and the mold is the result of inadequate drying, not a new covered event. Claim denied.
A professional moisture log looks like this: daily readings from a calibrated moisture meter at multiple points in each affected room, baseline readings from unaffected materials for comparison, equipment placement notes, daily psychrometric readings showing temperature and relative humidity, and a final sign-off showing every surface at or below the IICRC dry-standard threshold for that material type. It’s a scientific document. A timestamped phone photo of a damp wall is not a substitute.
This documentation gap is the single strongest argument for professional response even on losses you could theoretically handle yourself. The restoration invoice is not just labor. It’s the creation of an evidentiary record that your insurer will accept if anything goes wrong later. Rialto homeowners who choose DIY to save $400 often discover this when a $12,000 mold claim gets denied over missing documentation.
We build documentation into every job from the first day. It’s not an add-on or a favor. It’s the deliverable that protects you after the drying is done. The same holds on the fire damage restoration side in Rialto, where inventory documentation and scope-of-loss reporting drive the settlement conversation with your adjuster.
California Contractor Law and the DIY Permit Trap
California law allows homeowners to perform work on their own primary residence without a contractor’s license, but that permission runs out the moment you start replacing structural components or modifying building systems. This is where well-intentioned DIY restoration crosses into a code violation.
Replacing drywall after a water loss? Generally fine as homeowner work, though scopes that involve multiple sheets, insulation replacement, or any fire-rated assembly trigger permitting questions. Replacing a section of subfloor that rotted or delaminated from water exposure? That’s structural work, and it requires a permit in Rialto, just as it does in every San Bernardino County city. Running new electrical wiring after a water event shorted out a circuit? Electrical work requires a permit and, in most cases, a licensed electrician. Moving or modifying drain lines, supply lines, or vent lines? Same answer.
The practical problem is that water damage doesn’t politely stop at the point where the homeowner’s legal scope ends. A Category 2 loss in a Rialto bathroom frequently reaches the subfloor. Cut out the wet subfloor and you’re now doing structural work without a permit. If the next buyer’s inspector finds unpermitted work, the seller disclosure requirements grind the sale to a halt. If the work fails and water intrudes again, your insurer may deny the claim on the grounds that the prior repair was unpermitted and non-compliant.
Professional restoration contractors aren’t just equipment operators. They’re the party of record for code compliance, they pull permits when the scope requires them, and their insurance covers the work. The RIA affiliation carries real weight here: Trailblazer Water Damage home services operate at the standard expected by insurers and building departments, not the standard a homeowner guesses at from a YouTube video.
Scenario Matrix: Three Rialto Loss Types, Three Different Answers
Here’s the practical version. Three common Rialto loss scenarios and what the correct response looks like for each.
Scenario 1: Burst Supply Line in a Bathroom
The situation: A braided supply line under the bathroom sink fails while you’re home. You catch it within minutes. The water is clean, the affected area is the bathroom floor, and maybe a 2-foot by 2-foot section of vanity baseboard is wet.
The call: This is the only scenario where a limited DIY response is defensible, assuming you have a moisture meter, the floor is not tile-over-wood with water running through grout lines to the subfloor, and you can confirm no water entered wall cavities. Extract what you can, run a dehumidifier rated for the space, check readings daily, and call a professional if readings don’t drop steadily within 48 hours. We respond to these calls in Rialto all the time, usually after the homeowner realizes the baseboard is still reading 30% moisture on day three. For a proactive approach, check our Water Damage Restoration Maintenance Checklist for Rialto Homeowners.
Scenario 2: Sewage Backup in a First-Floor Bathroom or Laundry Room
The situation: A city sewer line backup pushes Category 3 water through a floor drain, covering part of a bathroom or laundry room floor.
The call: There is no DIY version of this response. Category 3 water contains pathogens, and every porous surface it touches (carpet, pad, drywall, baseboards, any stored items) is contaminated. The affected materials must be removed under containment, the remaining structure must be dried with professional equipment, and antimicrobial treatment is required. California health code and IICRC standards are unambiguous on this point. Delaying a professional response on this one doesn’t save money; it expands the contaminated zone and turns a $3,000 cleanup into a $15,000 full-bathroom rebuild.
Scenario 3: Roof Leak During an Inland Empire Rain Event
The situation: Heavy rain exposes a failed boot around a roof penetration, water runs down inside a wall cavity, and you notice a water stain on the ceiling. You caught it on day one, but you don’t know how long the leak has been active.
The call: This one is a professional response from the start, even though the water is technically Category 1, because the structural penetration is unknown without a moisture meter and a professional assessment. Water running inside a wall cavity is invisible until it presents at a surface, and by then the affected area is typically much larger than what’s visible. We see this pattern constantly in older Rialto homes near the foothills, where roof pitches and aging flashing make slow leaks common. The professional move is thermal imaging or moisture mapping to identify the full affected area, cavity drying with Injectidry systems if the materials can be saved, and clear documentation for the roof-repair insurance conversation.
Why Mold and Fire Restoration Are Never DIY Projects
If we’ve been nuanced about water so far, let’s be blunt about the other two disciplines: mold and fire are not DIY-adjacent.
Mold remediation fails as a DIY project for three separate reasons. First, aerosolized mold spores are a respiratory hazard, and disturbing visible mold without containment spreads spores throughout the home, affecting areas that tested clean before you started. Second, visible mold is usually the tip of the iceberg; the colony behind the wall, under the floor, or inside the HVAC ductwork is often many times the size of what you can see. Third, post-remediation verification requires clearance testing, which means a third-party indoor air quality assessment. The IFA-affiliated standard for clearance testing isn’t something a homeowner can self-generate. Rialto homes built before widespread use of air conditioning and proper ventilation carry higher mold risk than newer construction, and the older housing stock north of Foothill Boulevard is where we see the most extensive hidden mold problems.
Fire and smoke restoration is even more clearly out of DIY reach. Smoke doesn’t just stain surfaces; it penetrates porous materials and carries combustion byproducts that continue off-gassing long after the fire is out. Acidic soot residues etch glass and corrode metal if not neutralized within days. Structural components exposed to fire may be weakened even when they look intact. The restoration requires chemical treatment, often ozone or hydroxyl generation for odor, and in many cases, structural assessment by an engineer. This is not a bucket-and-sponge situation.
For both disciplines, the value of a professional rests on the same three pillars: health protection, structural integrity, and documentation that survives insurance and disclosure requirements. There’s no version of bleach, repainting, or airing out the house that satisfies those three.
The Insurance Reality: What Adjusters Actually Look For
Homeowners often think of their insurer as an adversary, but the practical relationship is more specific than that. Adjusters work from a coverage rulebook. Your job as the policyholder is to provide a loss narrative that maps cleanly onto the covered perils in the policy. Professional restoration contractors exist, in part, to create that narrative in the language adjusters expect.
Here’s what adjusters want to see, in order of importance:
- A clear cause of loss that maps to a covered peril. “Water damage from a burst supply line” is covered. “Water damage from a slow leak that’s been going on for months” is often not, because it shades into maintenance failure.
- Immediate mitigation, which establishes that the homeowner took reasonable steps to prevent further damage, which is a duty under most policies. This is where the professional timeline matters: call at 8 a.m., crew on site by noon, extraction by 2 p.m., equipment running by 4 p.m.
- Scope documentation: itemized inventories, moisture readings, photo documentation of every affected surface before, during, and after.
- Dry-standard confirmation: the signed moisture log that proves the structure was actually returned to acceptable conditions, not just made to look dry.
A DIY response produces none of those four at a level that survives scrutiny. A professional response produces all of them as a matter of standard operating procedure. The difference matters not just for the current claim but for the insurability of the home going forward.
Common Mistakes to Avoid
- “I’ll just run my home dehumidifier for a week.” Consumer dehumidifiers don’t have the pint-per-day capacity to dry structural materials after actual water damage, and running one unattended for a week with a full tank is a flooded-floor repeat incident waiting to happen.
- “The wall feels dry now, so we’re good.” Touch is not a moisture meter. Drywall can read 15% moisture content and feel completely dry to the hand while remaining above the dry-standard threshold where mold can colonize.
- “Bleach kills mold, so I’ll just spray everything.” Bleach does not penetrate porous materials, does not kill mold roots at the source, and creates a false sense of completion that allows the colony to keep growing behind surfaces.
- “My neighbor had the same thing and fixed it himself.” Your neighbor’s water category, structural penetration, flooring type, and insurance policy may be completely different from yours, and you won’t know whether his fix actually held or just hasn’t failed yet.
- “Contractors just want to oversell the job.” This reputation problem exists in the industry, and the correct response is not to skip the professional step but to demand a written scope before work starts. Any legitimate Rialto restoration firm will provide a line-item scope in writing. If someone refuses to put it on paper, hang up and call someone else.
- “I’ll wait until morning and see how it looks.” On Category 2 or Category 3 water, waiting is the costliest decision available. Bacteria multiply on a curve. What was Category 2 at 10 p.m. can present like Category 3 by morning, doubling or tripling the remediation scope while you slept.
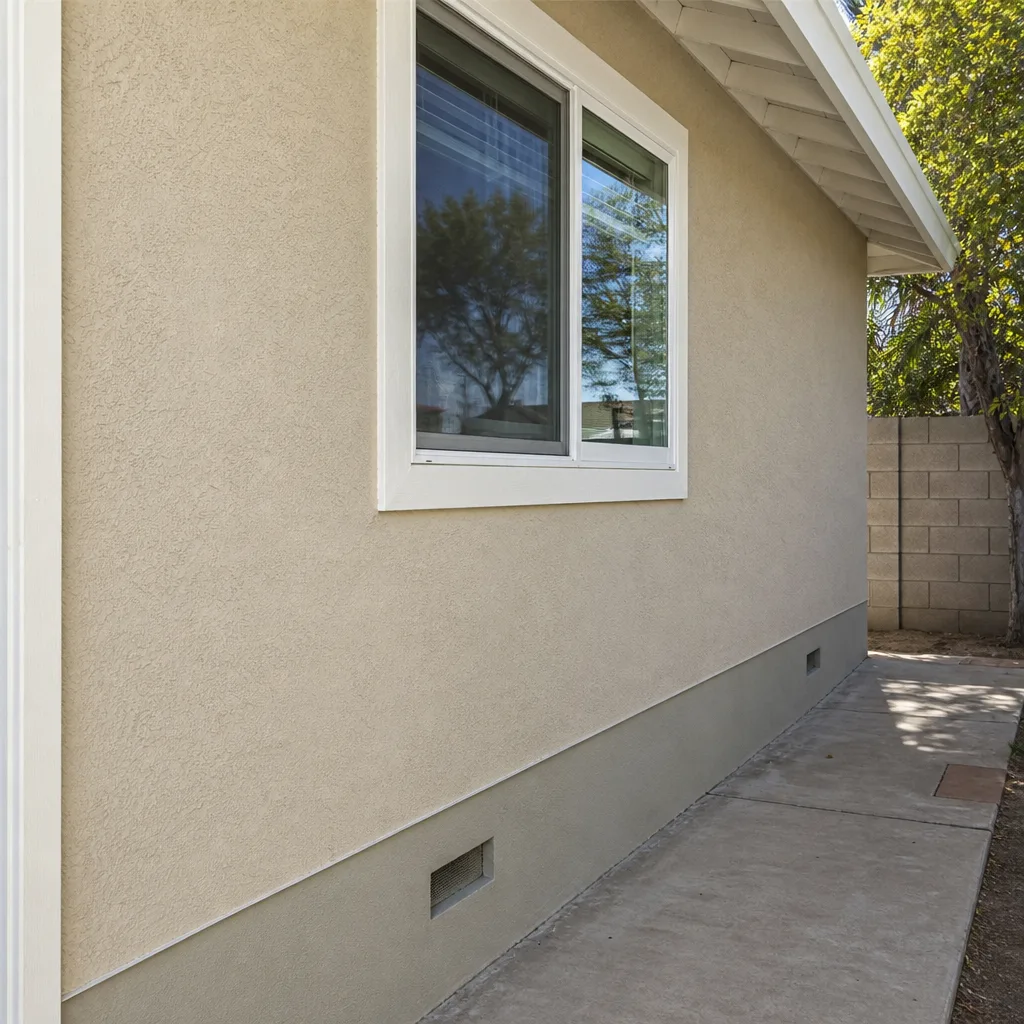
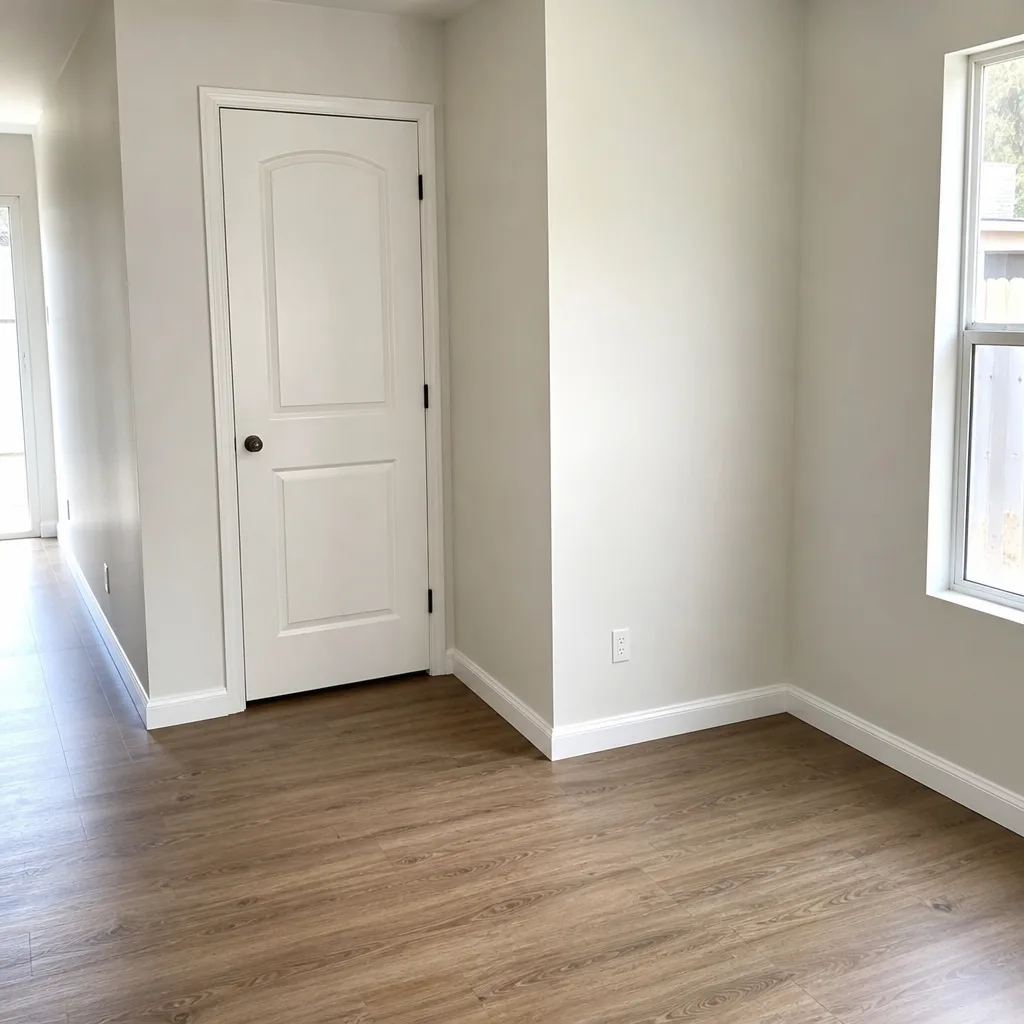
See the difference
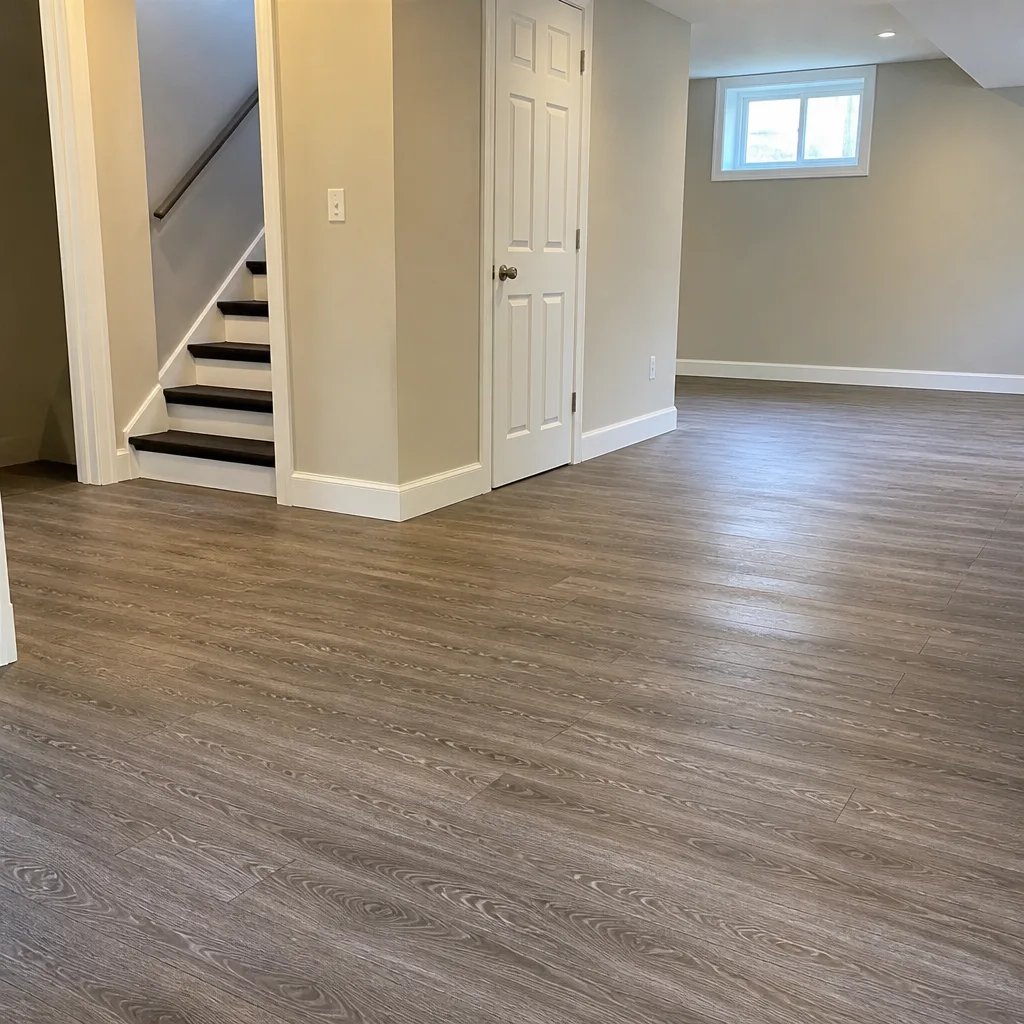
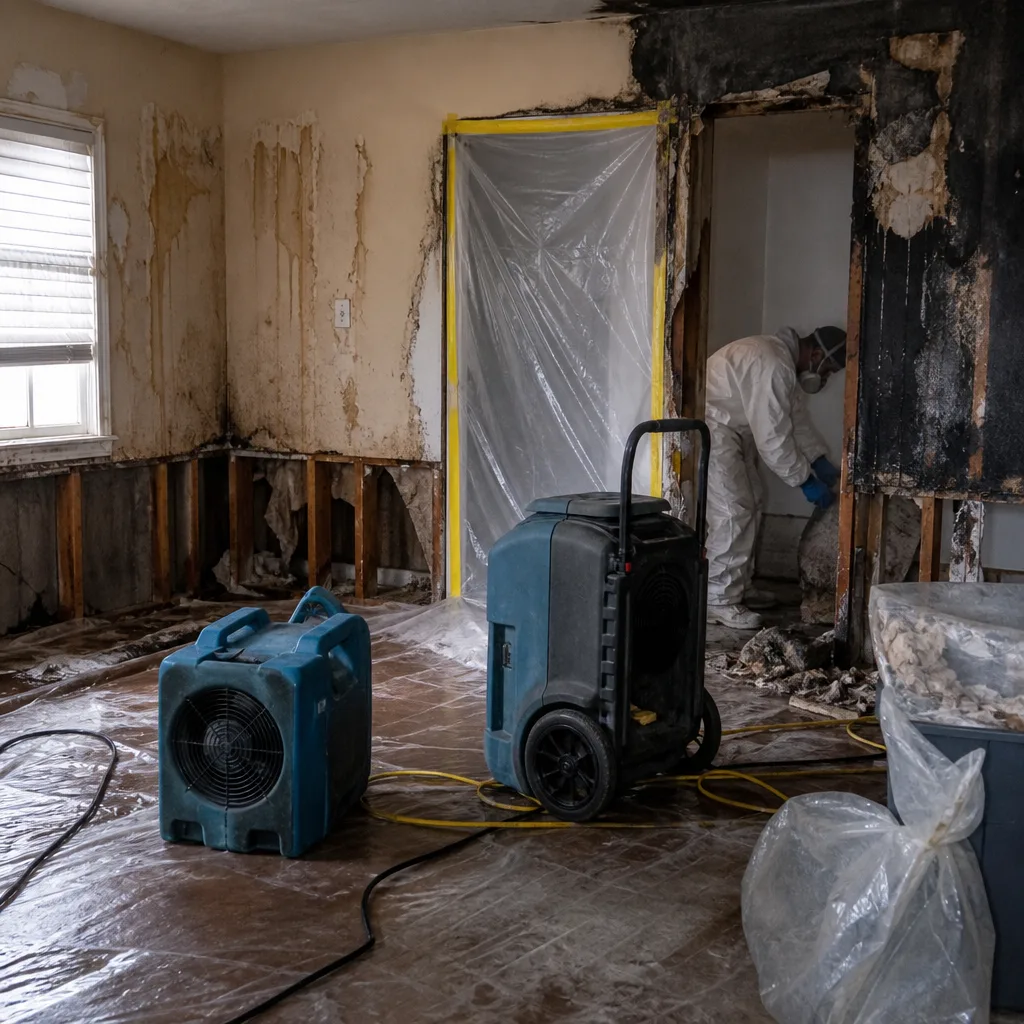 Before
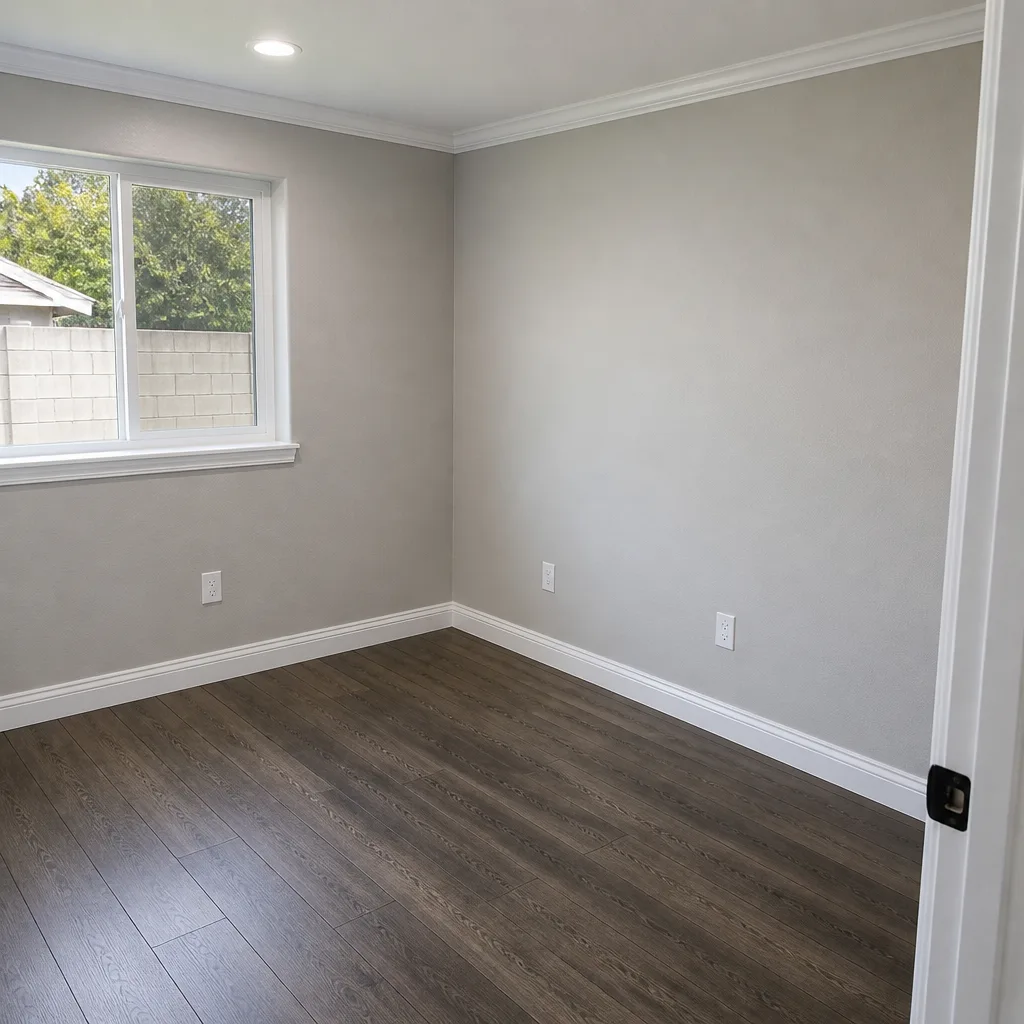 After
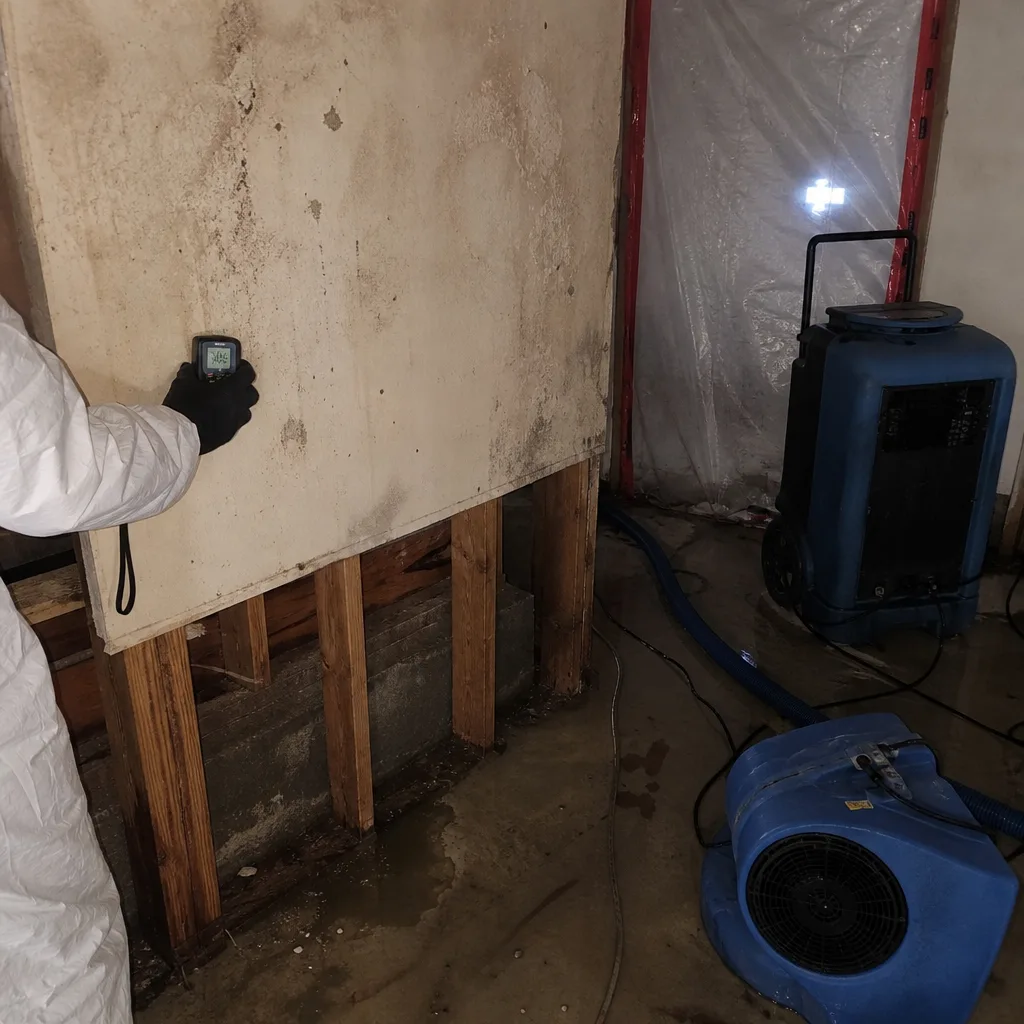 Before
 After
 Before
 After
When to Call a Professional
Call a professional immediately if the water is Category 2 or Category 3, if the affected area exceeds roughly 10 square feet, if water penetrated wall or floor cavities, if any electrical components got wet, if you see or smell mold, or if the loss involves fire or smoke at any scale. Call a professional within 24 hours if a Category 1 loss isn’t drying steadily under your own equipment or if you don’t own a moisture meter. Call a professional if you’re not sure which category you’re dealing with, which is more common than any homeowner expects. In Rialto, Trailblazer Water Damage offers free estimates, conducts on-site assessments for all three disciplines, and provides written scopes before any work begins. Reach us at (866) 472-6137, and explore more guides & resources on protecting your home.
Frequently Asked Questions
Safe DIY cleanup is limited to Category 1 water from a sanitary source (supply line, faucet, ice maker) covering less than roughly 10 square feet with no wall or floor cavity penetration, caught within hours, and addressed with a real moisture meter and adequate dehumidification.
Category 1 is clean water from a sanitary source; Category 2 is contaminated water containing bacteria from sources like washing machines or dishwashers; Category 3 is grossly contaminated water containing pathogens from sewage, flooding, or long-standing water, and it requires professional remediation with material removal.
Most policies require the homeowner to mitigate further damage, which your initial cleanup supports, but if the insurer determines your self-remediation was inadequate or that you performed unpermitted structural work, they may reduce or deny the claim. Professional documentation from the point of first response forward is the strongest protection.
Mold can begin colonizing within 24 to 48 hours in Rialto’s warm climate, and faster in enclosed wall cavities where heat and moisture concentrate. The dry Inland Empire air creates a deceptive surface-dry condition while hidden moisture persists inside walls, making professional moisture assessment essential after any water intrusion.
You can rent commercial dehumidifiers and air movers from equipment rental outlets, but cartridge-based cavity drying systems like Injectidry and high-capacity Dri-Eaz units used in professional restoration are not generally available for rent, and more importantly, the documentation showing dry-standard was achieved is the service, not the equipment.
A professional moisture log records dated, timed moisture content readings from a calibrated meter at multiple points in each affected room, baseline readings from unaffected materials for comparison, daily psychrometric data, and a final sign-off at IICRC dry-standard thresholds, creating an evidentiary record insurers use to validate the claim and protect against future disputes.
The Bottom Line
The DIY-versus-professional decision in restoration comes down to water category and structural penetration. Category 1 water caught immediately in a small area with no cavity penetration is the only scenario with a legitimate DIY lane, and even then, the absence of a certified moisture log leaves you exposed to future claim denial. Everything else is a professional response, and in Rialto, that means working with a team that operates commercial Dri-Eaz and Injectidry equipment, holds IICRC certification, and maintains RIA and IFA affiliations. The call you make in the first hours after a loss determines not just how the home dries today, but whether you’re protected tomorrow. If you’re standing in water or staring at mold in Rialto, call (866) 472-6137 and get a written scope before you make any other decision.
Written by the team at Trailblazer Water Damage, serving Rialto since 2013.